This post may contain affiliate links. This means if you click a link and purchase an item that I recommend, I will receive an affiliate commission at no extra cost to you. All opinions are my own.

I love wood blocks for DIY projects, they are inexpensive and can be used for a number of crafting and home decor projects. If you have some wood blocks laying around the house, or some that your kids have ditched, this DIY will be perfect for you.
Today I have a simple, affordable and very easy DIY project for you. I’ll be using 1 inch blocks of wood to create a home decor piece that’s simple yet stylish.
Supplies you’ll need:
- Wood Blocks
- White paint
- Sponge brush
- Cricut machine
- Cricut weeder
- Glitter Vinyl, Black
- Transfer tape
- Paint tray
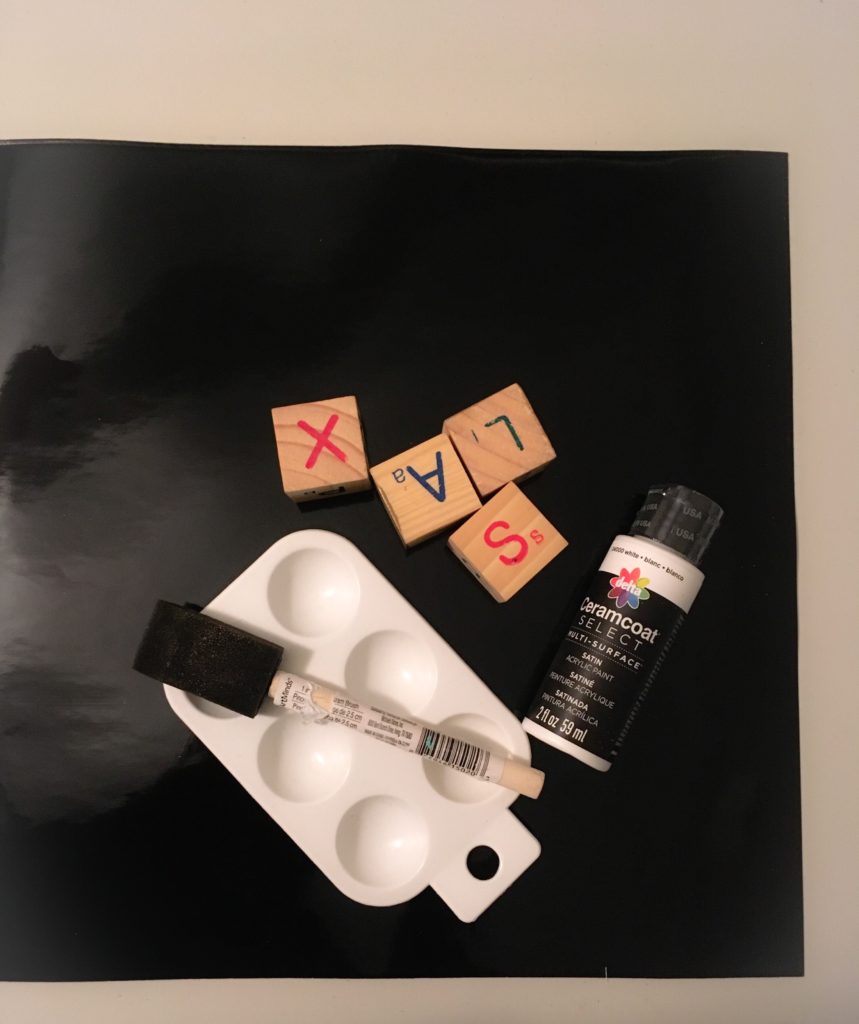
Step 1 Lay out the blocks, paint, painting tray, sponge brush and vinyl.
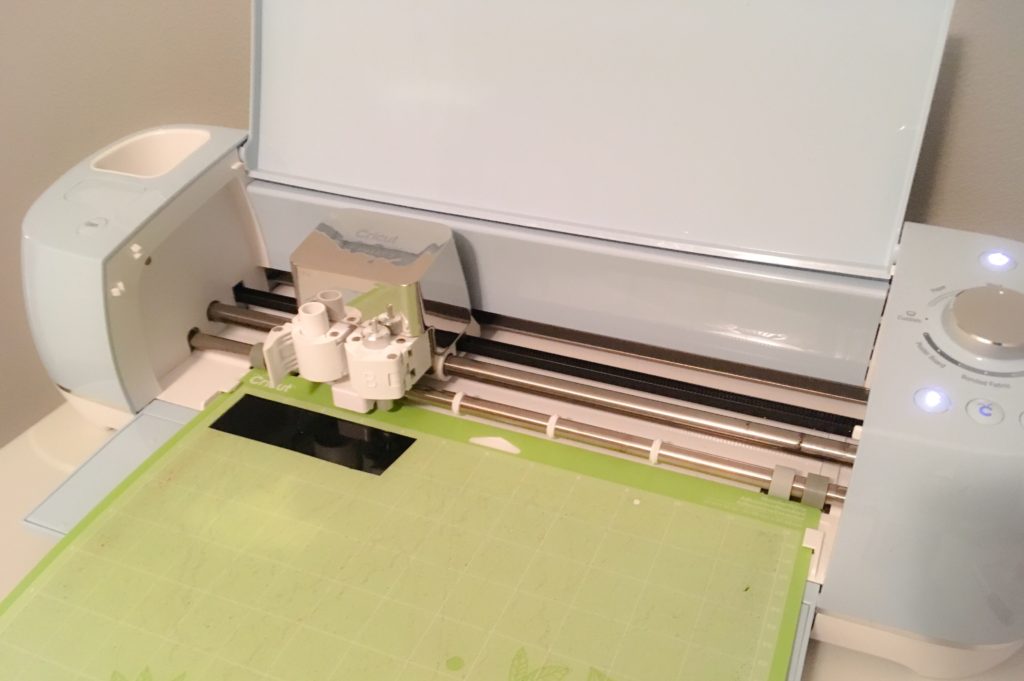
Step 2 Use your Cricut machine to cut out the word “HOME.”
Step 3 Weed your vinyl and sit it to the side.
Step 4 Add about 3 coats of paint on each side of your blocks. Be sure to allow enough time for all sides to dry before adding your vinyl. I used a small heater fan to speed up the drying process.

Step 5 While the blocks are drying, apply transfer tape to your word “HOME” and then cut each individual layer.
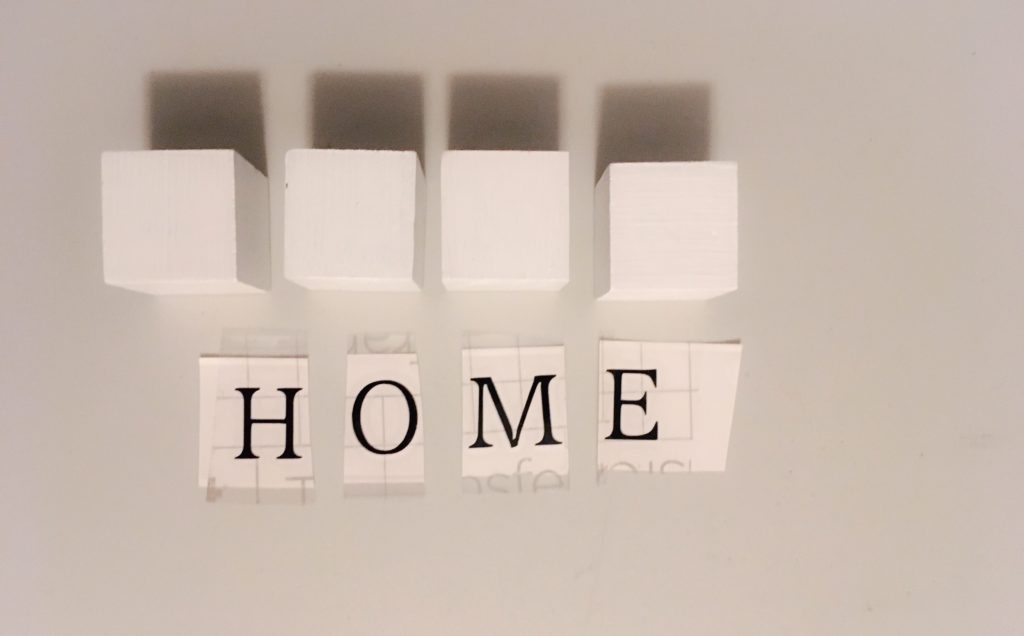
Step 6 Place the vinyl on the blocks.
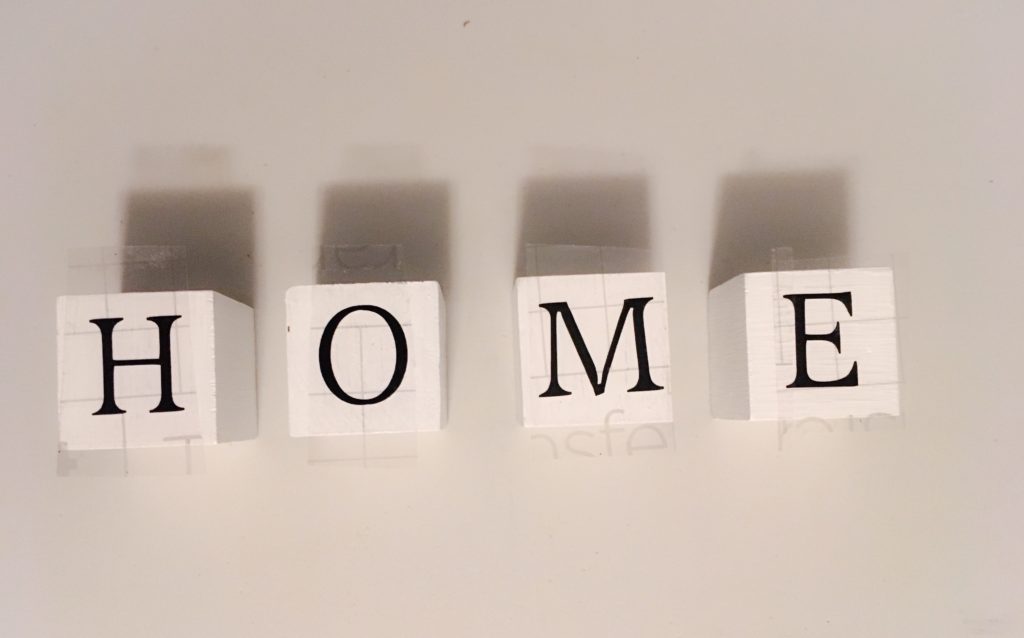
Step 7 Remove the vinyl and you will have your finished product.
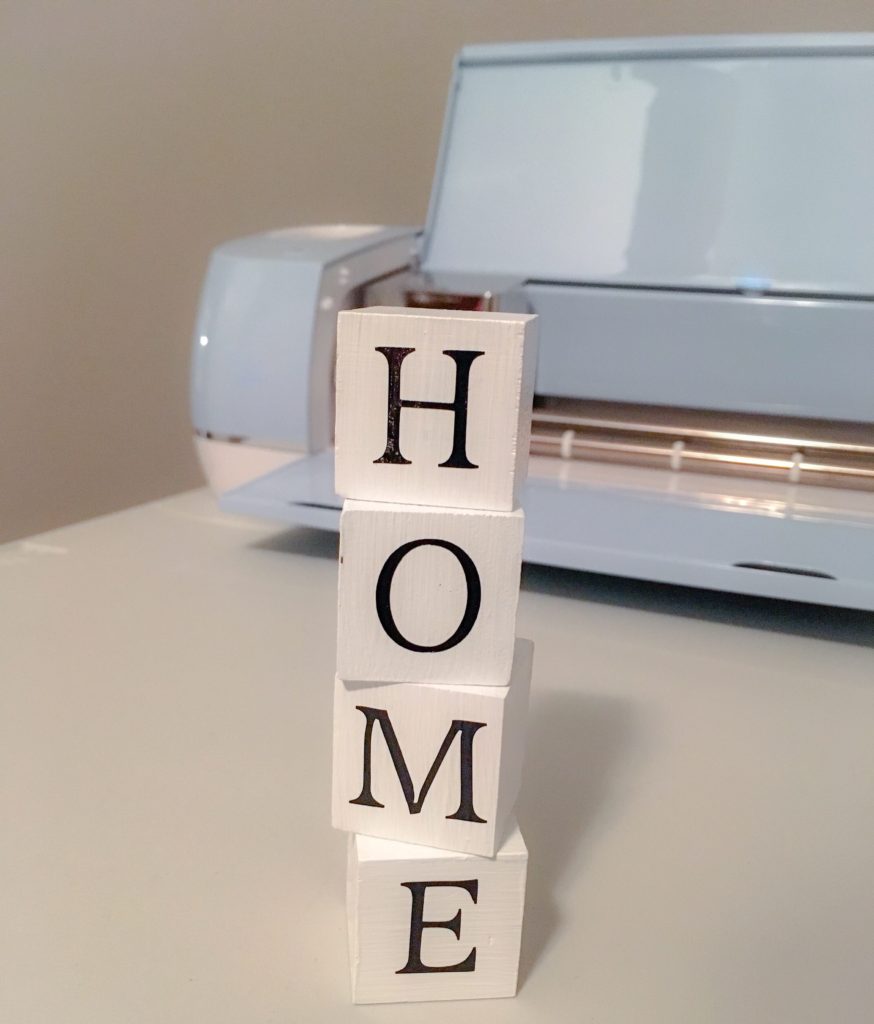
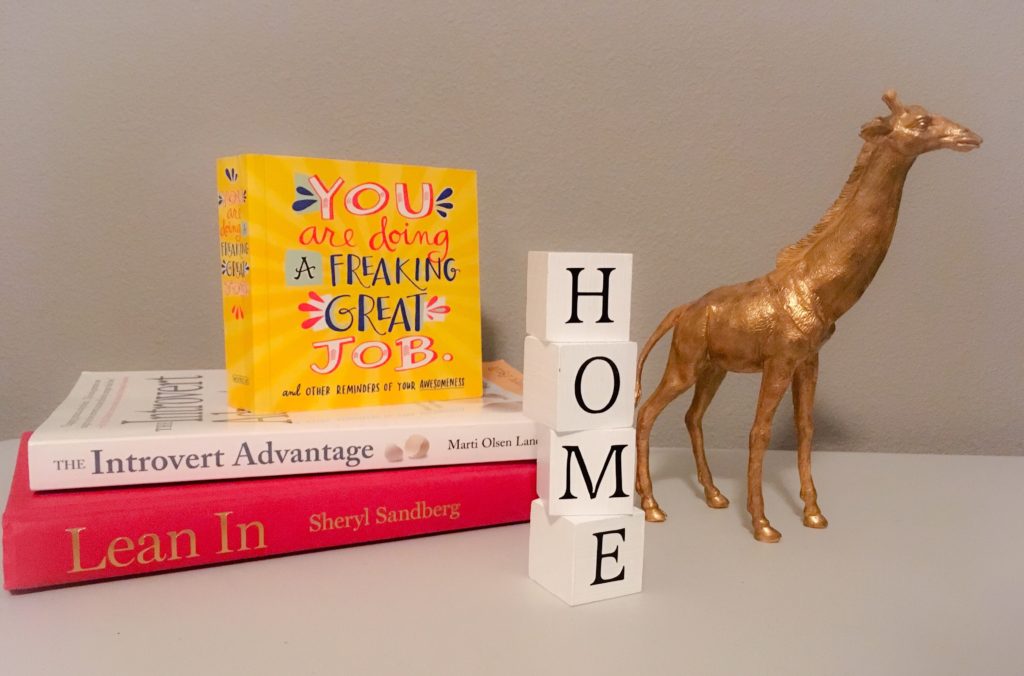
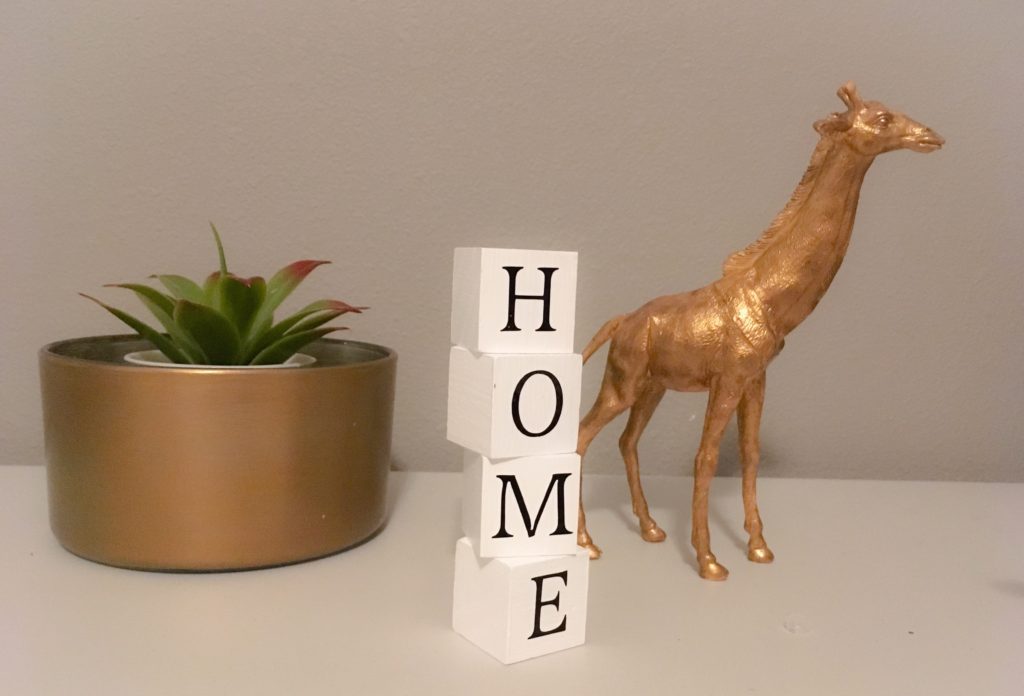
My “M” was a little messed up due to peeling the transfer tape off, but it’s hardly noticeable sitting on my guest bathroom counter!
I hope you enjoyed this DIY. You can also distress your blocks to give them more of that farmhouse look.
Enjoy this DIY wood block project? Pin it for later.

Get the free SVG file here.


