This post may contain affiliate links. This means if you click a link and purchase an item that I recommend, I will receive an affiliate commission at no extra cost to you. All opinions are my own.
I love making shirts with my Cricut machine and I love shipping them off even more.
In this article, I explain how to package and ship Cricut shirts using Etsy, Shopify and through your local post office or shipping carrier.
I’ll assume that you already know how to make a shirt with your Cricut machine and jump straight into how to package and ship your Cricut shirts.
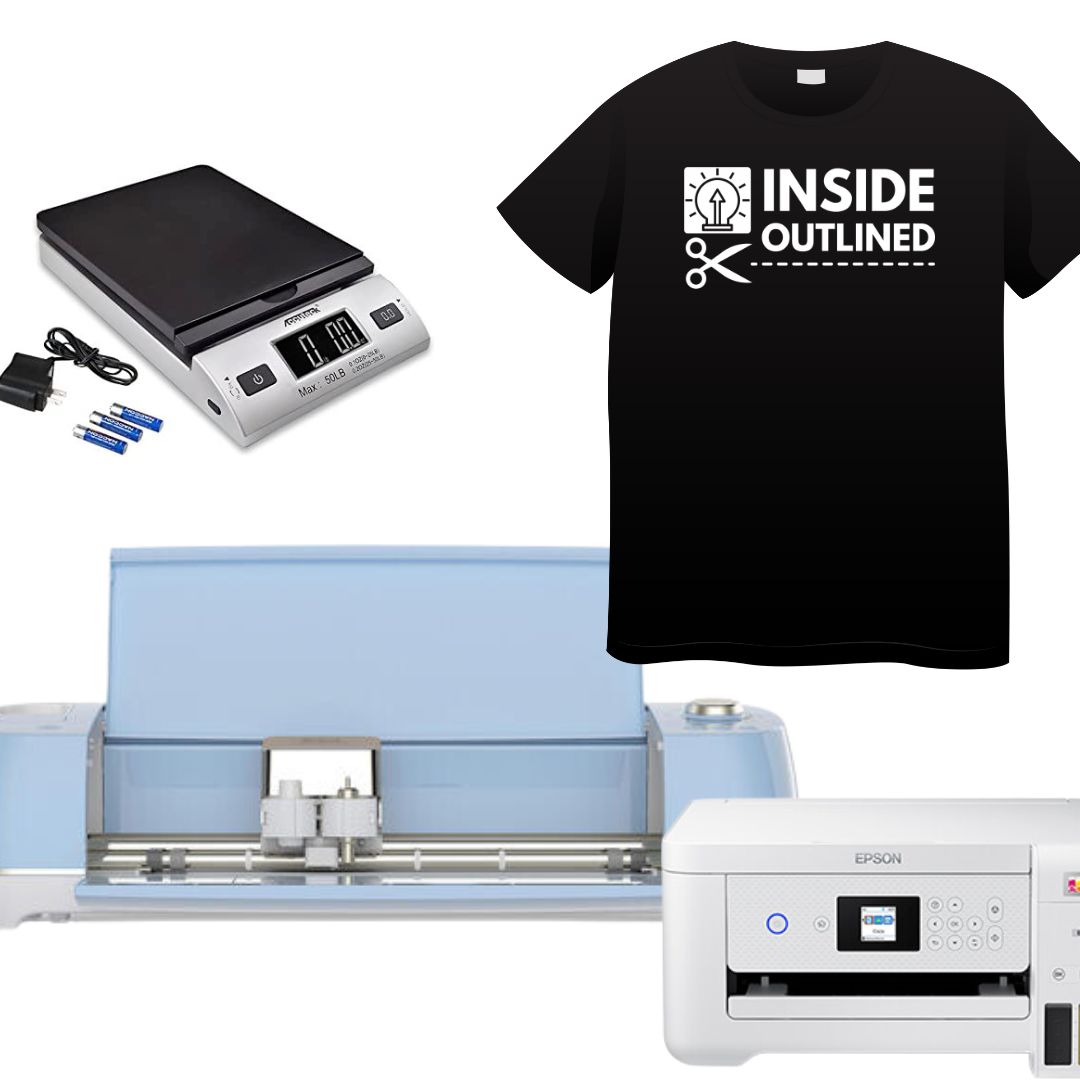
Here are the packaging items you’ll need to ship your Cricut shirt:
- Bubble mailer/poly mailer
- Plastic bag
- Customer receipt
- Thank you/coupon code
- Printer/shipping labels or Rollo machine
- Shipping scale
How to ship a Cricut shirt
Now it’s time to package your Cricut shirt so you can ship it using the instructions below for Etsy, Shopify, and your local post office or shipping carrier.
Jump to Sections in this Post
Packaging and shipping a Cricut shirt using Etsy
Congrats on selling a Cricut shirt through Etsy. It can be hard to stand out on Etsy, but congrats on doing it. People are finding your products. Here are the steps to package and ship your Cricut shirts:
- Go to Shop Manager.
- Click Orders and Shipping.
- Click on the order for which you want to print the receipt.
- Click the 3 dots in the bottom right corner and click Packaging Slip or Order Receipt.
- A new tab may open with a PDF for you to print.
- Put the shirt, customer order page, and thank you/coupon code inside the plastic bag.
- Add any additional touches to the bag such as stickers, magnets, etc.
- Place the plastic bag inside the bubble mailer or poly mailer and seal it.
- Use your shipping scale to weigh your package.
- Back on the Orders and Shipping page, click on the order and click the icon of the van.
- Enter the details of your package including the weight and size.
- From the list of shipping carrier options, choose the one that suits your needs. This is where you’re choosing how much to pay for the shipping label and who will ship the package for you. Etsy will bill you for the amount of the shipping label you choose.
- Review your purchase and then click Purchase.
- A screen will pop up and you will click Print shipping labels. On this screen is also the option to print packing slips.
- Your shipping label will open in another tab.
- Put your shipping label paper in your printer and then click print on your device screen.
- Take your printed shipping label and add it to your package.
- The customer will automatically receive an email notification saying that their order is on the way. They will also receive the tracking number so they can track their package.
- Drop the package off at the location of the shipping carrier that you chose.
Watch the video below on how I package and ship an Etsy order.
Packaging and shipping a Cricut shirt using Shopify
Congrats on selling a Cricut shirt through your Shopify site. This means that people are finding your website online or you’re directing people to your online store. Here are the steps to package and ship your Cricut shirts:
- In Shopify, click on the order for which you want to print the receipt.
- Click More Actions and then click Print Order Page or Print Packing Slips.
- A window will pop up for you to print the order page or packing slip.
- Put the customer order page, shirt, and thank you/coupon code inside the plastic bag.
- Add any additional freebies to the bag such as stickers, magnets, etc.
- Place the plastic bag inside the bubble mailer or poly mailer and seal it.
- Use your shipping scale to weigh the package.
- Next, click Create Shipping Label.
- Enter the details of your package including the weight and size.
- From the list of shipping carrier options, choose the one that suits your needs. This is where you’re choosing how much to pay for the shipping label and who will ship the package for you. Shopify will bill you for the amount of the shipping label you choose.
- Click Buy Shipping Lable and the label will open in another tab.
- Put your shipping label paper in your printer and then click print on your device screen.
- Take your printed shipping label and add it to your package.
- The customer will automatically receive an email notification saying that their order has been shipped. They will also receive the tracking number so they can track their package.
- Drop the package off at the location of the shipping carrier that you chose.
Packaging and shipping a Cricut shirt through post office
Congrats on selling a Cricut shirt through word of mouth or networking events. While selling this way works for a little while and if selling is a hobby to you, if you want to expand and make more income, you’ll eventually need to set up a website or Etsy shop.
Here are the steps to package and ship your Cricut shirts:
- Put the shirt, customer receipt, and thank you/coupon code inside the plastic bag.
- Add any additional touches to the bag such as stickers, magnets, etc.
- Place the plastic bag inside the bubble mailer or poly mailer and seal it.
- Write down the customer’s shipping info on a sheet of paper
- Pack up your car and head to the post office or shipping carrier.
- Once at the post office, you can use the shipping labels that they provide to write the customer’s shipping info and your shipping info.
- When you’re at the counter speaking with the shipping teller, they will weigh the package and ask you to confirm both addresses.
- They will then give you multiple shipping options with some being cheaper than others.
- Choose which shipping option you want and pay for the shipping.
- You will receive a receipt that has a tracking number on it. You can email this tracking number to the customer so they can track their order.
I hope you enjoyed this tutorial on how to package and ship Cricut shirts.
Feel free to email or message me on social media if you have questions or comments.


