This post may contain affiliate links. This means if you click a link and purchase an item that I recommend, I will receive an affiliate commission at no extra cost to you. All opinions are my own.
When you’re running a Cricut business, one of the most important aspects is determining the right price for your projects. Pricing too low can hurt your profits, while pricing too high may drive away customers. So, how do you find the perfect balance? The process of pricing your Cricut projects involves considering various factors such as material costs, labor, time, and profit margins.
*This article was generated partially with the assistance of ChatGPT, a large language model developed by OpenAI.
In this article, we’ll dive into how you can effectively price your Cricut projects to ensure you’re earning what your work is worth. Whether you’re making custom t-shirts, tumblers, vinyl decals, or party decorations, this guide will help you establish a solid pricing strategy.
Jump to Sections in this Post
1. Calculate Material Costs
The first step in determining how to price your Cricut projects is calculating the cost of materials. This includes vinyl, transfer paper, cardstock, wood, or any other materials you’re using. Don’t forget to include the cost of adhesive vinyl, blank items (such as shirts or mugs), and any additional embellishments you’re adding.
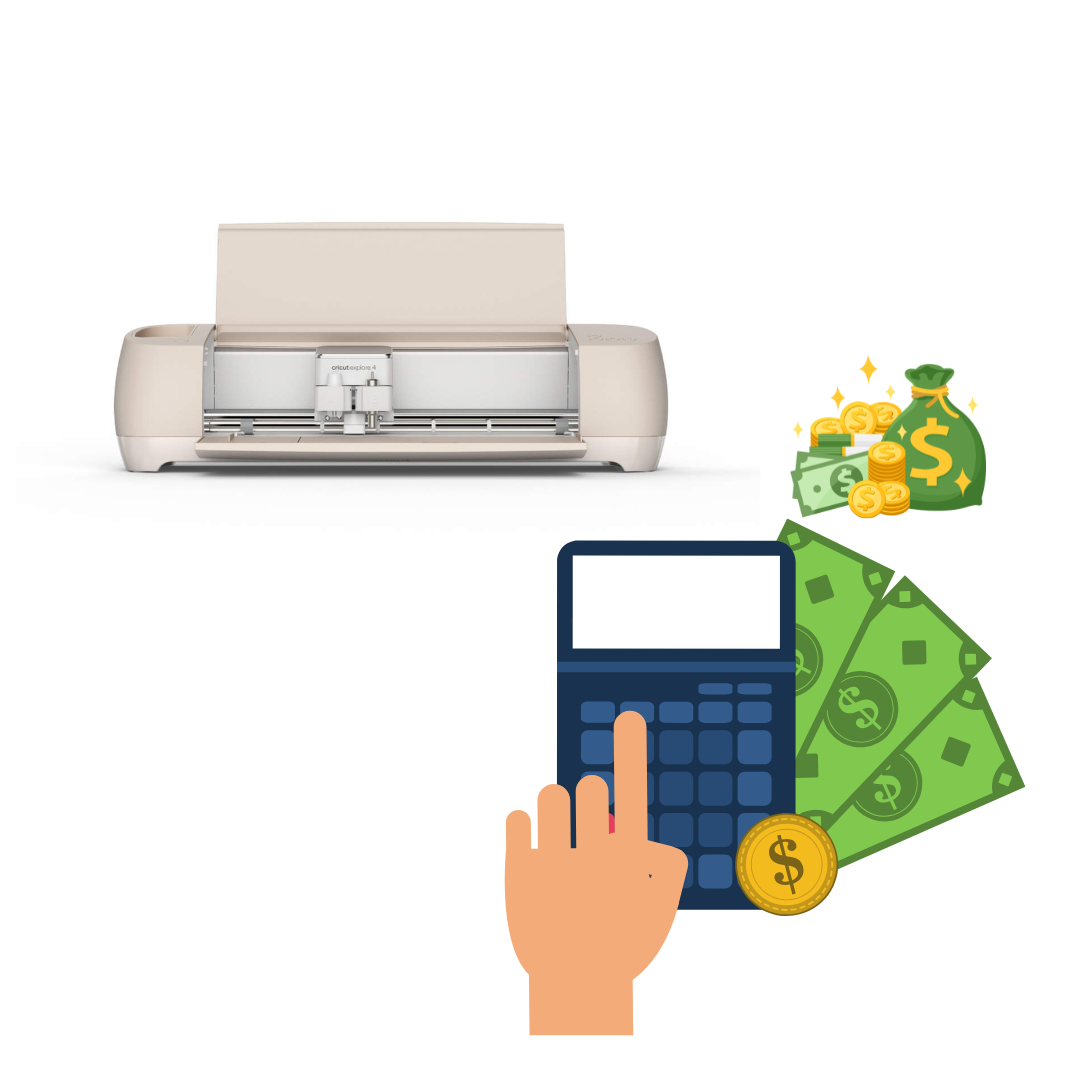
To make this easier, you can use a Craft Pricing Calculator to input the cost of materials and calculate your expenses. This tool will give you an accurate idea of how much you’re spending on each project, allowing you to base your pricing strategy accordingly.
2. Factor in Labor and Time
When pricing your Cricut projects, it’s essential to factor in the amount of time it takes to create them. This includes the design process, cutting, weeding, assembling, and packaging. Consider how much you want to earn per hour and multiply it by the amount of time you spend on each project.
For instance, if you want to make $20 an hour and a project takes 2 hours, your labor cost should be $40. This ensures that you’re not only covering material costs but also getting compensated for the time and effort you put into each project.
3. Consider Overhead Costs
Overhead costs are additional expenses that aren’t directly tied to your materials or labor but still affect your business. These include things like electricity, cutting machine maintenance, software subscriptions, and shipping supplies.
While these costs may seem small individually, they can add up over time. You can spread the cost of overhead across all your projects to ensure they’re factored into your overall pricing.
4. Add Your Profit Margin
After calculating material, labor, and overhead costs, you’ll want to add a profit margin. The profit margin is the amount you plan to earn after covering all your expenses. Typically, a good profit margin for Cricut projects is around 20-30%.
For example, if your total cost for a project is $50 (including materials, labor, and overhead), and you want to earn a 30% profit, you would multiply $50 by 1.3, which equals $65. So, you’d price that project at $65 to cover costs and make a profit.
5. Adjust for Bulk Orders
If you’re fulfilling bulk orders, you’ll want to adjust your pricing. Bulk orders can reduce costs because you’re purchasing materials in larger quantities or producing multiple items at once, which can save time. Offering a discount for bulk orders can attract more customers while still maintaining profitability.
To simplify this process, use the Bulk Craft Pricing Calculator. This tool allows you to enter your bulk order details and determine the most profitable price for larger quantities.
6. Use a Pricing Spreadsheet
Once you’ve established your pricing structure, it’s important to stay organized. Tracking your material costs, labor, and pricing for each project can be a lot to handle manually. A Cricut Pricing Spreadsheet can help streamline this process.
This spreadsheet allows you to record all your project details, helping you track expenses, set prices, and adjust as needed. With everything in one place, it’s easier to see how your pricing strategy is performing and make adjustments to stay profitable.
7. Research Your Market
Another key aspect of pricing your Cricut projects is understanding your target market. Take time to research competitors, both locally and online, to see what similar products are selling for. This can give you a general idea of the market price range and help you position your pricing to remain competitive.
However, don’t undervalue your work by trying to match lower prices. If your designs are unique and of high quality, customers will be willing to pay a premium. It’s important to strike a balance between affordability and ensuring your hard work is compensated fairly.
Check out these Cricut business success stories.
Use Everbee to see which Cricut projects sell best.
Final Thoughts
Pricing your Cricut projects doesn’t have to be a guessing game. By calculating material costs, factoring in labor and time, considering overhead, and adding a profit margin, you can establish a pricing strategy that works for you. Don’t forget to use helpful tools like the Craft Pricing Calculator, Bulk Craft Pricing Calculator, and Cricut Pricing Spreadsheet to simplify the process and ensure your business remains profitable.
By doing your research and staying organized, you’ll have the confidence to price your Cricut projects effectively and make your business a success!