This post may contain affiliate links. This means if you click a link and purchase an item that I recommend, I will receive an affiliate commission at no extra cost to you. All opinions are my own.
I love making shirts, aprons, pillow cases and many more projects with iron-on or HTV. Most people who have Cricut machines bought their machines so they could make shirts for family or friends, and others bought their Cricut machines so they could make shirts to sell.
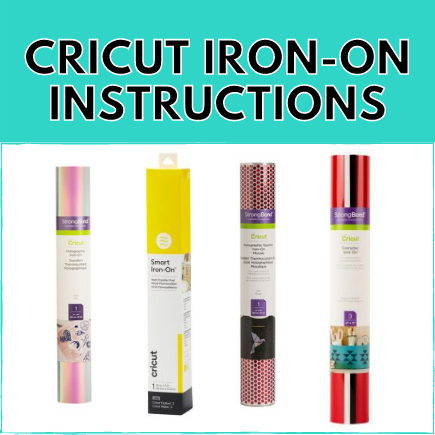
Regardless of which category you fall into, making iron-on or HTV projects takes some initial learning and that’s why in this blog post I provide some Cricut iron-on instructions in addition to general information about HTV and iron-on.
Jump to Sections in this Post
What is iron-on or HTV?
Iron-on vinyl is vinyl that needs heat to apply it to various materials such as cotton, polyester, burlap, etc.
HTV stands for heat transfer vinyl and is a vinyl that uses heat to adhere to a variety of materials. Think about shirts, pillow cases, cotton tote bags, etc.
A lot of new Cricut users ask the question, “What’s the difference between iron-on and HTV?” The simple answer is nothing. Iron-on and HTV are the same thing. The basis is that you need a heat source such as an iron, heat press or Cricut EasyPress to apply your iron-on or HTV to your material. So throughout this post, when I reference iron-on I’m using that term synonymously to also mean HTV.
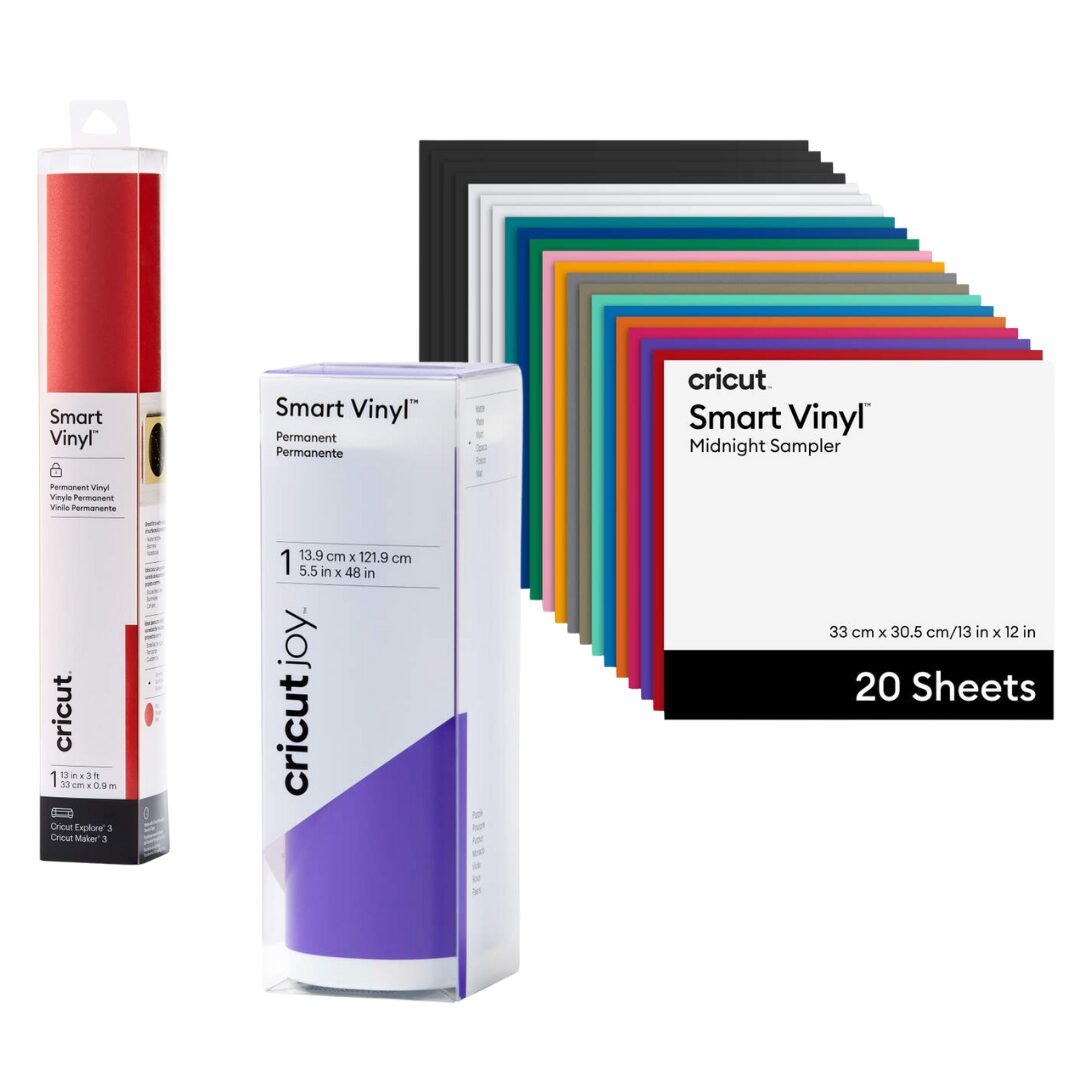
The difference between permanent adhesive vinyl and iron-on
With Cricut newbies, one of the first things they want to know is, “What’s the difference between permanent adhesive vinyl and iron-on?”
The answer is that permanent or removable adhesive vinyl does not need heat to apply it to surfaces. Adhesive vinyl can be applied to walls, wood, mugs, wine glasses, laptops, windows (including cars), acrylic, tumblers, keychains, and the list goes on. As mentioned above, iron-on or HTV can only be applied to materials such as shirts, pillow cases, tote bags, etc and needs a heat source.
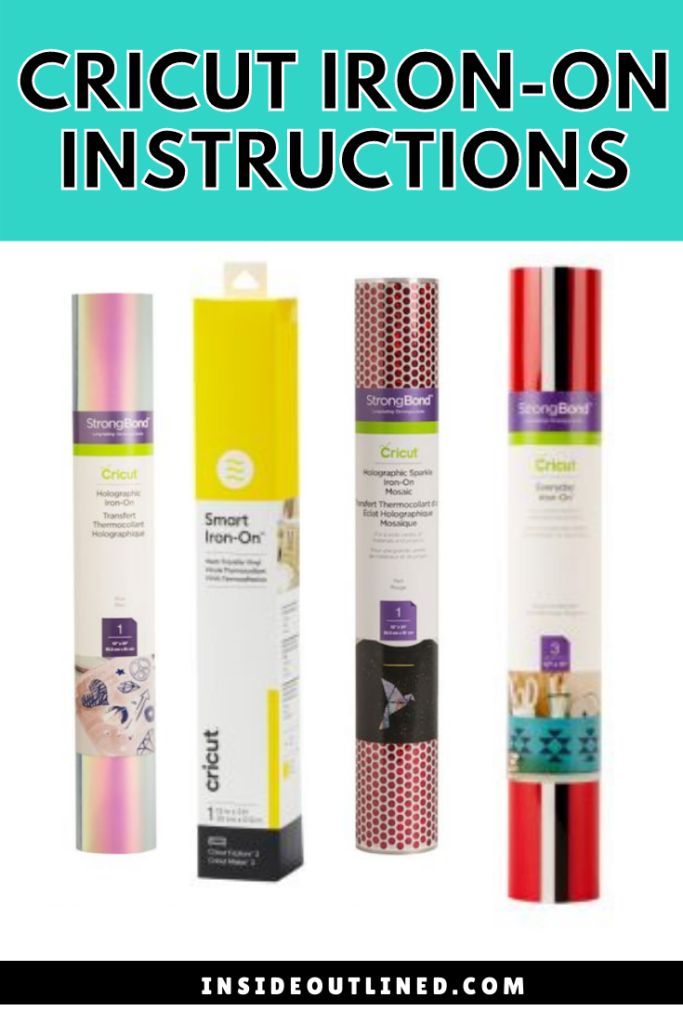
Brands of iron-on
There are a ton of brands of HTV that are available to buy and use with your Cricut machine. Some of the brands include Cricut, Siser, Teckwrap, The Paper Studio, StarCraft and many other brands that you will find on Amazon and other online stores. My HTV brand of preference is Siser Easyweed. My favorite printable HTV is StarCraft for dark materials and June Tailor Dark T-Shirt transfers.
There may be mixed reviews on all the various brands of heat transfer vinyl, but you should decide for yourself what brand works best for you. Each brand of iron-on may have slightly different instructions for how long to press or what temperature to press on, which will be discussed a bit later.
Sheet vs Roll
You can buy some HTV in sheets and other HTV in rolls. Obviously, with sheets of HTV there is less HTV to work with. I would recommend buying sheets of HTV if you have small projects or if you want to test out a color before purchasing it in large quantities.
Rolls of HTV come in various lengths, some being feet and yards long. If you make a lot of HTV projects, I recommend buying rolls of HTV because you will save more money in the long run.
Types of Iron-On
There are various types of heat transfer vinyl which include the following and each of these Cricut iron-on have specific instructions that you must be mindful of:
Solid
Solid color iron-on is the standard or basic iron-on and comes in many different colors. Solid color HTV is the cheapest of all the HTVs and can be bought from a variety of places.
Glitter
Glitter iron-on is one of my favorite types of iron-on and comes in a variety of colors. When cutting this HTV you must choose the glitter material setting and put the shiny side down; you may need to add more pressure when cutting glitter vinyl. When layering glitter vinyl, you cannot layer glitter vinyl on top of other glitter, glitter mesh, holographic, holographic sparkle, or foil HTV.
Metallic
Metallic iron-on is similar to foil iron-on and has a shimmer and shine to it.
Mesh
Mesh iron-on gives any material a jersey look and feel. You can layer this HTV on other mesh HTV or on top of solid color HTV.
Mosaic
Mosaic iron-on comes in square or circle patterns. This HTV is different from other HTV because it has 2 clear liner sheets. While you can’t layer mosaic HTV on top of other HTVs, you can use mosaic HTV as the bottom layer when layering HTV.
Foil
Foil iron-on comes in a variety of colors and is fun because it’s shiny and makes any design pop.
Printable
I love printable iron-on because you can take any design that you want, print it on your printable iron-on sheet using an inkjet printer and press it onto your shirt or other material. My favorite printable HTV is StarCraft for dark materials.
Holographic
Holographic iron-on is a translucent, reflective HTV, that has a multi-color finish. I love using holographic iron-on and adhesive vinyl.
Patterned
Patterned iron-on is just as it sounds, various patterns or designs are made into the vinyl. Think of a leopard print, gingham print, mermaid scales, camo print, etc.
Infusible ink
Infusible ink is basically a sublimation process where the ink is infused into a shirt, apron, pillow case, etc. The difference between infusible ink and iron-on or HTV is that again, infusible ink is infusible into the fabric of the material, whereas iron-on or HTV sits on top of the material.
SportFlex
SportFlex iron-on is a thin vinyl that is made to stretch on activewear or the base material and is recommended to be used on polyester or nylon. If you want to layer sportFlex iron, it’s best to only layer it with other sportFlex iron-on.
Smart
You can use smart iron-on without a Cricut mat if you have a Cricut Explore 3, Cricut Maker 3, or Cricut Venture.
Cold vs Warm peel
Cold or warm peel refers to when you peel off the carrier sheet of your HTV. For some types of HTV you have to wait for the HTV to completely cool before you peel it off. For other HTV, you can peel it off while it is warm, but not hot (you could burn yourself). Depending on if your HTV is a cold peel or warm peel, not following the directions will cause the HTV to not adhere to your material properly.
Mirroring your design

You will quickly learn when using HTV that you should ALWAYS mirror your design and ALWAYS put the shiny side down when cutting your HTV. When you cut HTV, you are cutting on the back side of the HTV, so in essence you need to mirror/flip your design.
Iron vs EasyPress
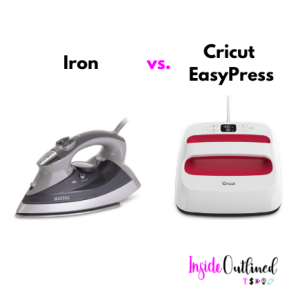
A common question among people who want to use iron-on is, “Should I use an iron or a heat press?” The answer to that question is that it depends on who you’re making projects for. If you’re making projects for friends and family only and you don’t want to invest in a heat press or Cricut EasyPress, then you should stick with an iron. If you want professional looking iron-on projects that will last for a long time, you should invest in a heat press or Cricut Easypress. There are pros and cons to both machines but you should weigh your options and get what works best for you.
Iron-on cut setting

There are various settings in Cricut Design Space that you can use to cut your iron-on. If you have a Cricut Explore or Cricut Explore Air 2 or any older Cricut model that has the dial, I recommend keeping it on custom. That way, when Design Space prompts you to choose your material, you won’t accidentally have your machine set to cardstock instead of iron-on.
When it’s time to choose your base material, click “Browse All Materials” and then type “iron-on”. Currently there are 17 results for the various types of iron-on material. Choose from the list the type of iron-on you will be cutting.
FAQ
Some frequently asked questions for Cricut iron-on are below:
Which side of HTV to cut?
When using HTV to make a project, you should always put the shiny side down on your mat. Because your design is being mirrored and cut into the back side or dull side of the HTV, you always put the shiny side down on the mat. Think of the shiny side as the heat resistant side that protects your design when the heat is applied.
How to weed my iron-on?
Weeding is the process of taking your design that has been cut and removing the extra vinyl from the design. Some people find weeding to be therapeutic and for me, if I’m making multiple projects that require a lot or weeding, I set aside a day to just weed all of my designs. You will always have to weed your vinyl, whether it’s permanent adhesive vinyl that you put on mugs, laptops or water bottles, or if it’s iron-on that you put on shirts, pillow cases, or aprons.
To weed your vinyl, you will need to use a Cricut weeding tool that looks like a plaque or tartar scraper that dentists use to clean your teeth.
How to layer HTV?
Layering HTV is easy and can be meticulous to do. Layering HTV involves placing each layer of your HTV down on your material, pressing it for a few seconds and repeating the process.
An important thing about layering HTV is that you only need to press each layer for about 3 seconds. The more you press the HTV, the more it shrinks. It’s not major shrinking, but enough to notice if you press each layer for a long time. Foil, holographic, holographic sparkle and glitter, iron-on should be used as top layers only.
What temperature to use with HTV?
The temperature to use with your iron-on depends on the type and brand of iron-on you are using. I put together a Cricut EasyPress Temperature Guide that walks you through what temperature to use with your iron-on or HTV. Cricut also has a Heat Guide that allows you to choose your materials and iron-on type.
I suggest you bookmark the Cricut Heat Guide and print off my Cricut EasyPress Temperature Guide.
Do I need transfer tape?
![]()
You do not need transfer tape when using HTV. Transfer tape is only needed for adhesive vinyl.
Which iron-on to use?
Because there are tons of iron-on brands to choose from, a common question is which iron-on to use? I personally use the Siser Easyweed iron-on and have been satisfied with it. The Siser Easyweed iron-on is much cheaper at the place I buy it, MyCraftSource.com. Sometimes I use the Cricut brand iron-on and I’ve had great results with it also. Overall, the iron-on that you choose to use should be based upon you testing out the different types of iron-on for yourself.
Which HTV is better?
As mentioned before, you should try out a few different types of HTV to see what works best for you. My personal favorite is the Siser Easyweed HTV and I buy it locally because it is much cheaper than buying it at Michaels and other major craft stores.
How long to press HTV design?

The different types of HTV will need to be pressed for different time periods. As mentioned before, there are different iron-on instructions based on the HTV or iron-on you buy. I put together a blog post that has a freebie that shows you how long to press the different types of HTV. Cricut also has a heat guide that allows you to choose the type of HTV and the material type to determine how long to press your design.
Is HTV permanent?
HTV is considered permanent vinyl and lasts on your materials for a very long time. However, depending on if you applied the HTV correctly and how well you take care of the material that the HTV was applied to, the lifetime of your material can be increased or decreased.
How to make iron-on last?
To get the most out of your material that has iron-on vinyl, if the material can be washed, always wash it inside out. That’s especially the case with a shirt, pillow case, sweatshirt, etc. If you don’t wash the item inside out, the friction from other items in the washer slowly tear at your design.
Also, when caring for your materials with iron-on, be sure to wash your material at least 24 hours after applying your iron-on.
Parchment paper and teflon sheet
Parchment paper and teflon sheet both allow you to protect your iron-on especially when you have to layer designs. Parchment paper is inexpensive and you can buy it at just about any store. Teflon sheet can be a bit more expensive ($10-$20), but lasts a very long time.
One thing to note with teflon sheets is that depending on the type of iron-on, because of the fibers in the teflon sheet, that can sometimes cause an imprint of those tiny fibers into your iron-on.
In all honesty, any type of heat resistant paper can be used to protect your HTV.
I hope you enjoyed this blog post on Cricut iron-on instructions. This blog post walked you through what HTV or iron-on is, the different types of HTV, the different brands of HTV, what temperature to use with iron-on, and some frequently asked questions about iron-on/HTV such as is HTV permanent and how to layer HTV/iron-on.