This post may contain affiliate links. This means if you click a link and purchase an item that I recommend, I will receive an affiliate commission at no extra cost to you. All opinions are my own.
Wood signs add a personal touch to any room in your home. Wood signs also make the perfect gift for family, friends and coworkers. Your wood signs don’t have to be the same but can range from funny to inspirational and spiritual.
If you search wood signs on Pinterest you will find that these signs come in a variety of shapes, sizes and colors. While most signs you come across on Pinterest and Etsy have a rustic feel, you can create wood signs that are modern and contemporary by adding color, vinyl, paper flowers and many more additions.
Jump to Sections in this Post
What kind of wood to use
Just about any wood that you find in Home Depot, Lowe’s, Hobby Lobby and even Michaels can be used to make your wood sign. I recommend looking on Pinterest to see what kind of wood sign and design you would like to make and then going into any of the stores mentioned above to find your wood for your project.
Michaels has a variety of wood signs that have strings/rope attached that are ready to paint or stain.
Overview of process
The process of making wood signs is very easy and takes only a few steps that include painting/staining your wood the color of your choice, applying a vinyl decal to your sign in addition to anything else you would like to add.
Supplies you’ll need:
- Vinyl
- Svg file
- Cricut machine
- Wood
- Wood stain/paint
Step 1: Prep your wood
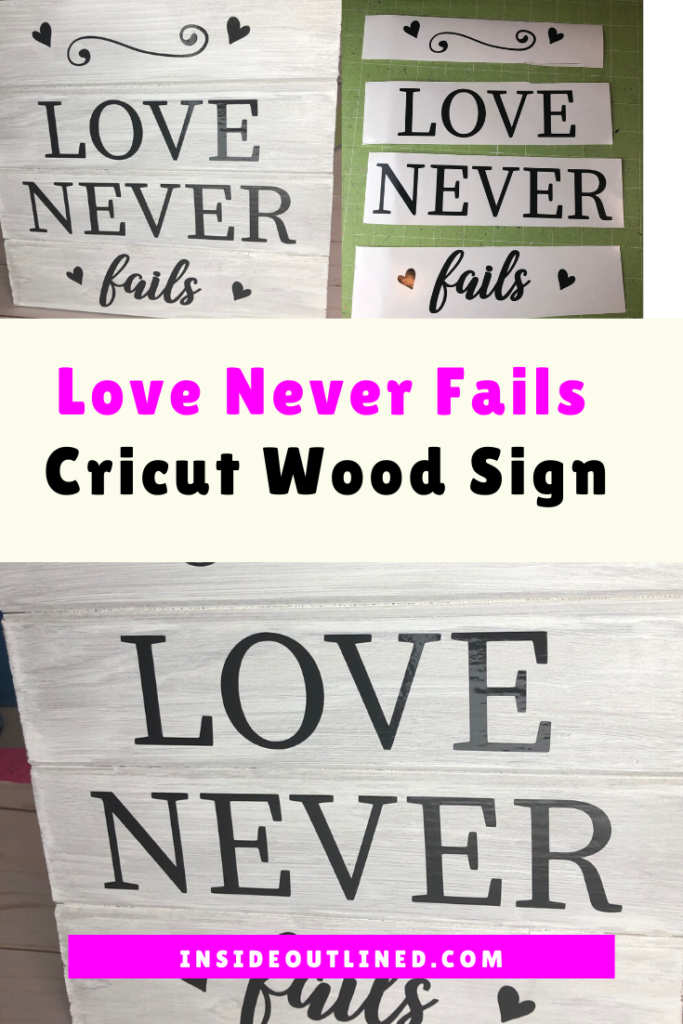
First, you need to prep your wood by painting it or staining it. Regardless of which one you choose, give yourself at least 24 hours for it to dry completely. I decided to paint my sign white.
Step 2: Upload the svg file

Next you need to upload your svg file to Cricut Design Space. Check out my blog post How To Upload SVG Files To Cricut Design Space if you’re unsure of how to do this.
This design is available in my Free Resource Library.
Step 3: Resize your design and cut your vinyl
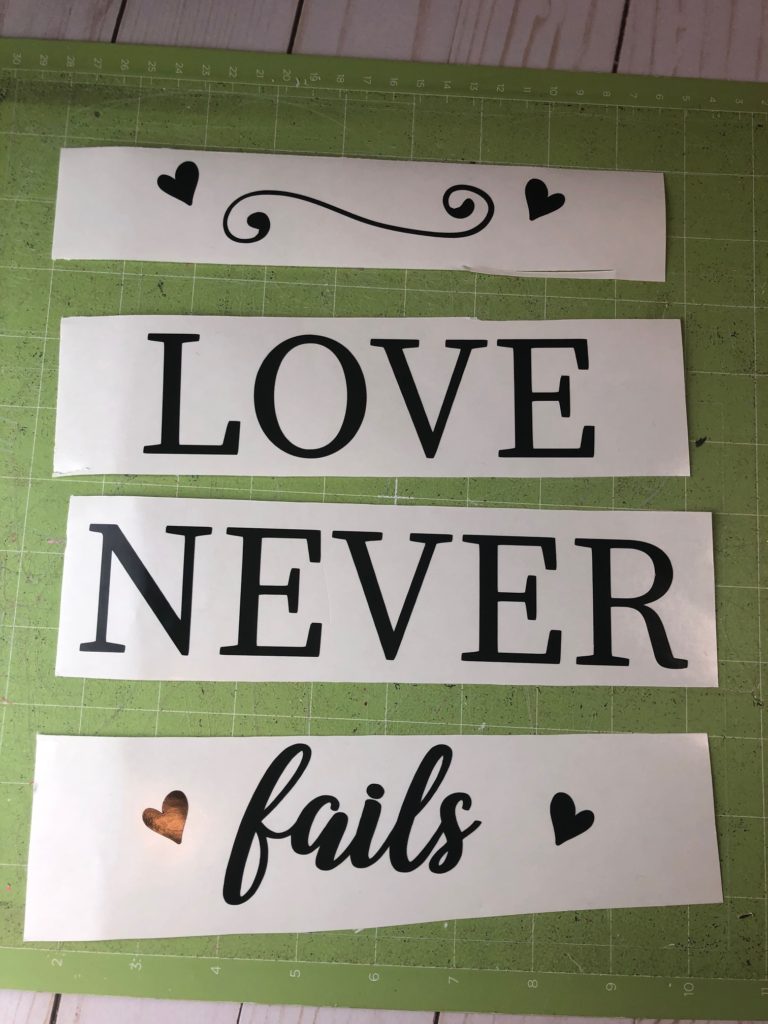
Depending on the length and width of your wood, you need to resize your design accordingly. My wood was 10 in. x 9.8 in and my design was 8.078 in x 8.268 in. Once your design is the size you want it, select your design and click the Attach button in the bottom right corner so that your design will cut as it is shown on the screen.
Click Make it at the top right and click Continue. Put your vinyl on your mat and load it into your Cricut machine and cut your design. Depending on how long your wood is and how long you want your design to be, you may need your 12 in. x 24 in. mat.
Step 4: Weed and apply your design

Next use your weeding tool from the Cricut tool set to weed your design. Use some transfer tape to overlay on top of your design and press down firmly. Carefully peel the transfer paper off the white backing and place your design where you want it on your wood.
Use your scraper (also from your Cricut tool set) to firmly adhere the design to your spice jars.

Selling your wood signs
If you plan to see the wood signs you make I have a few tips for you.
Determine the size signs you want to sell
If you’re just starting out you need to grow small. Don’t initially start trying to offer 10 or 20 variations of signs. Take it slow and start out with 5 different sizes. This way you can get in the swing of your “assembly line” which includes taking the details for the order, staining/painting the wood, measuring the design, cutting it, applying it and packaging it. When you have a good feel and flow for your process you can begin offering more product sizes.
Determine the color wood signs you want to sell
Again, if you’re just starting out you want to have a small variety of options to sell and this includes color options. White signs typically gain a lot of traction as well as honey and provincial varathane brand interior stain.
Create the designs you want on the wood signs
You should create the designs that you want to sell on your wood signs in advance. You can create these designs in Cricut Design Space or in Adobe Illustrator. To determine what designs you want to create, try searching on Pinterest or Google for “wood sign quotes.” I suggest creating about 10 designs to have a variety of options. You can also allow your customers to do personalized designs, although that can get cumbersome and time-consuming.
You can use wood signs throughout your house including in your:
- Bedroom
- Kitchen
- Bathroom
- Living room
- Porch
- Nursery
- Laundry room

I hope you enjoyed this tutorial on how to make a wood sign using your Cricut machine. Be sure to pin this post to your Pinterest boards. Share your wood signs with me on Instagram or Facebook.


