This post may contain affiliate links. This means if you click a link and purchase an item that I recommend, I will receive an affiliate commission at no extra cost to you. All opinions are my own.
Jump to Sections in this Post
Launch Cricut Design Space
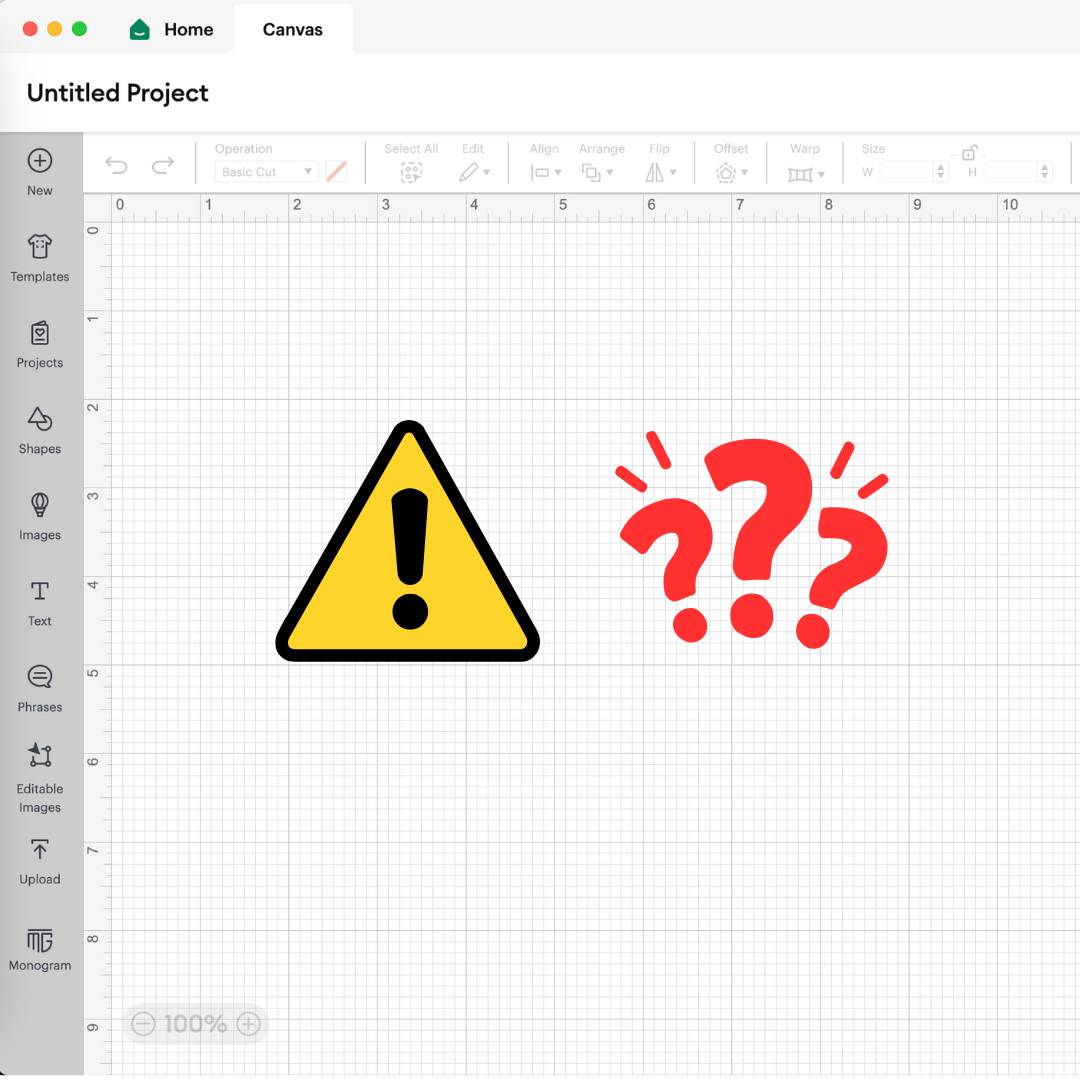
Step 1 Open Cricut design space and click New Project.
Note: Have your SVG file ready in a specific location on your computer. I recommend organizing your files in a folder on your computer so that you can easily find what you are looking for.
Upload your SVG file
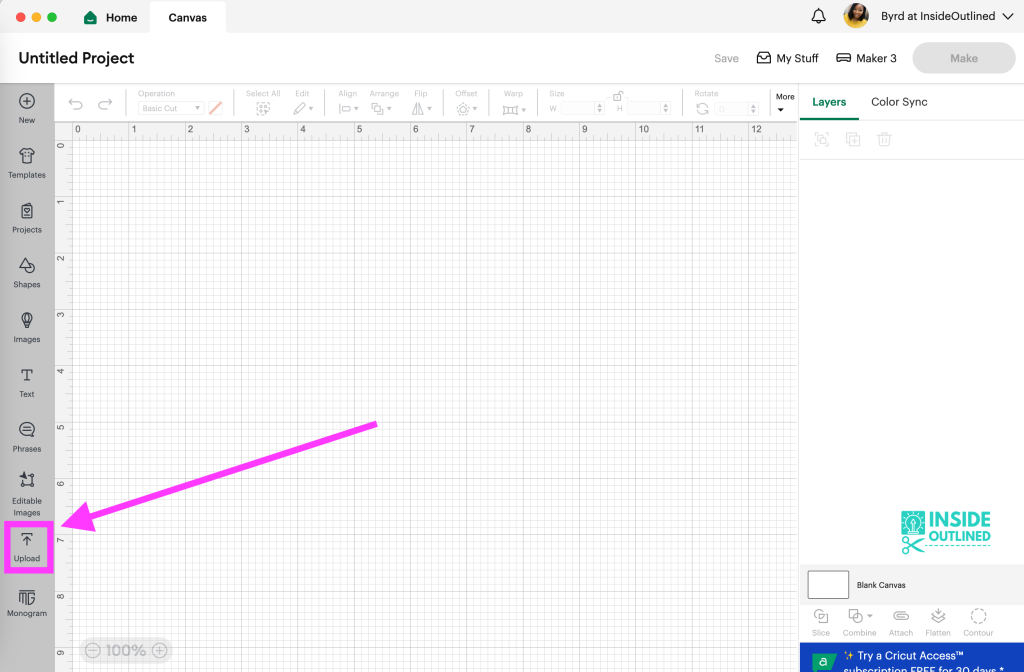
Step 2 On the left side of the screen, click the “Upload” button as seen in the image above.
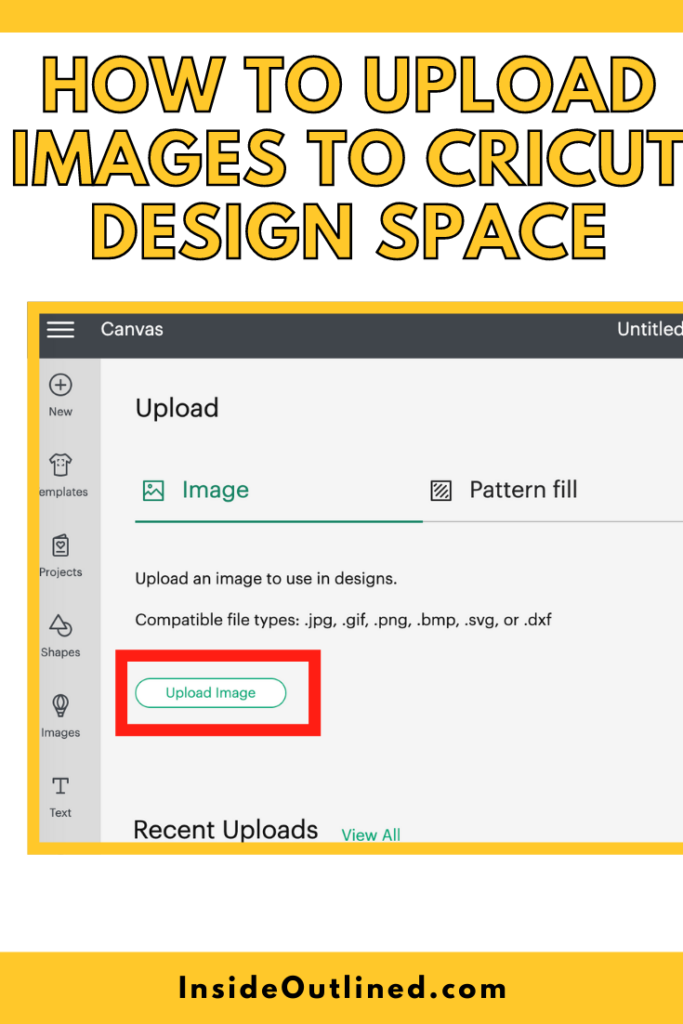
Step 3 Click “Upload image”.
Step 4 Then click “Browse”.
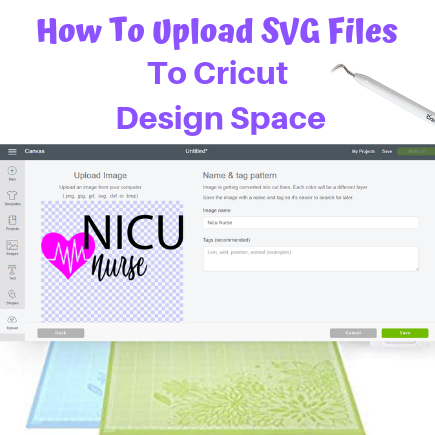
Step 5 Find your SVG file. Name your SVG file and fill in the tags if you choose to.
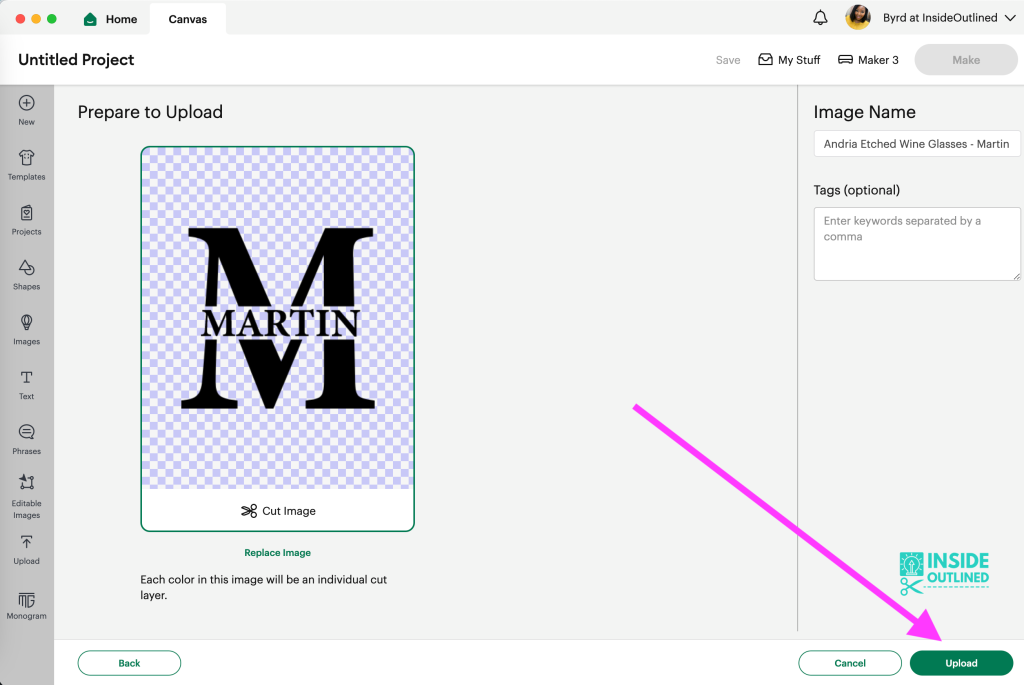
Step 6 Click “Upload” as seen in the image above.
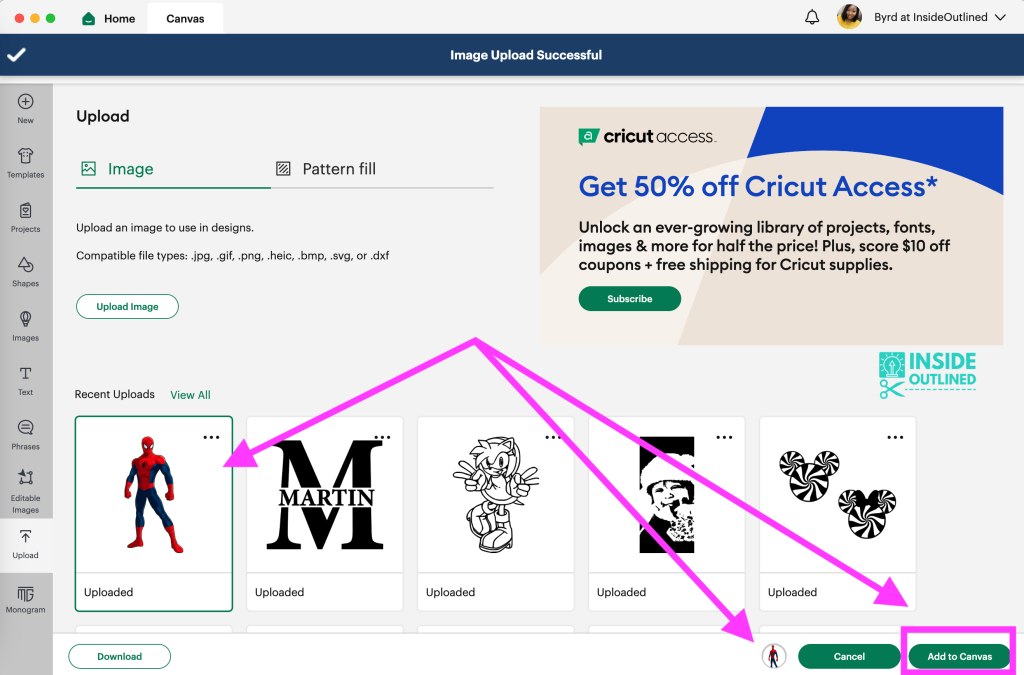
Step 7 Under Recent Uploads, click your design and a green box will appear around it. Click “Add to Canvas“. Refer to the image below.
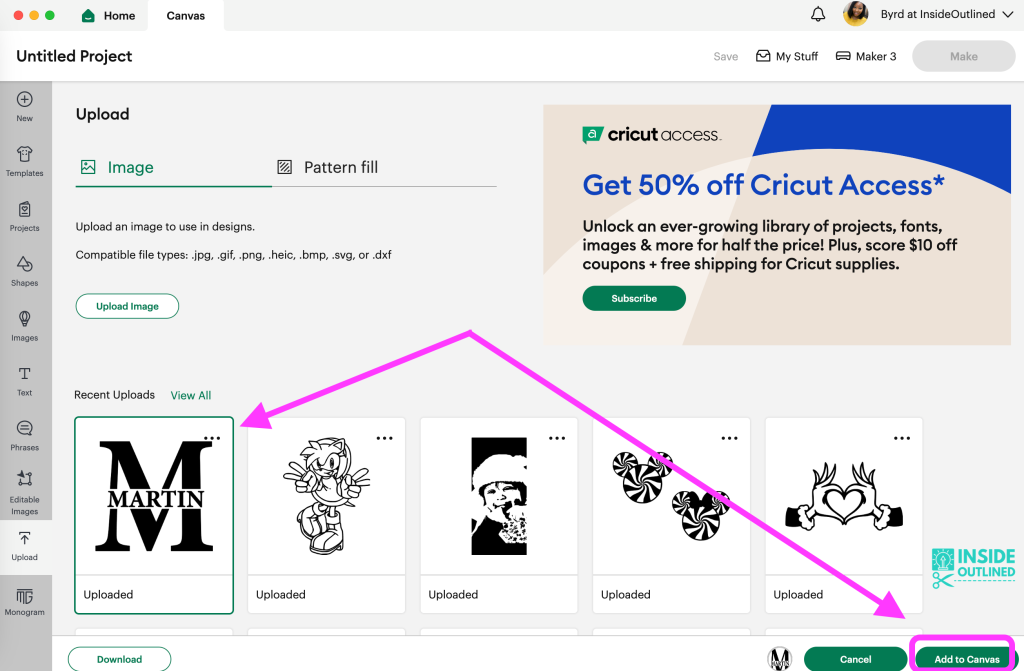
Once you’ve clicked “Add to Canvas” you will be taken to the Canvas to begin editing your SVG file.
You’re all done. You can now begin editing your design: changing the color, size, etc.
If you’re looking for Cricut projects to make or sell, I have put together a list of 66 Cricut projects that can get you started.
Upload images to Cricut Design Space
Step 1 Repeat steps 1-4 on how to upload SVG files to Cricut Design Space
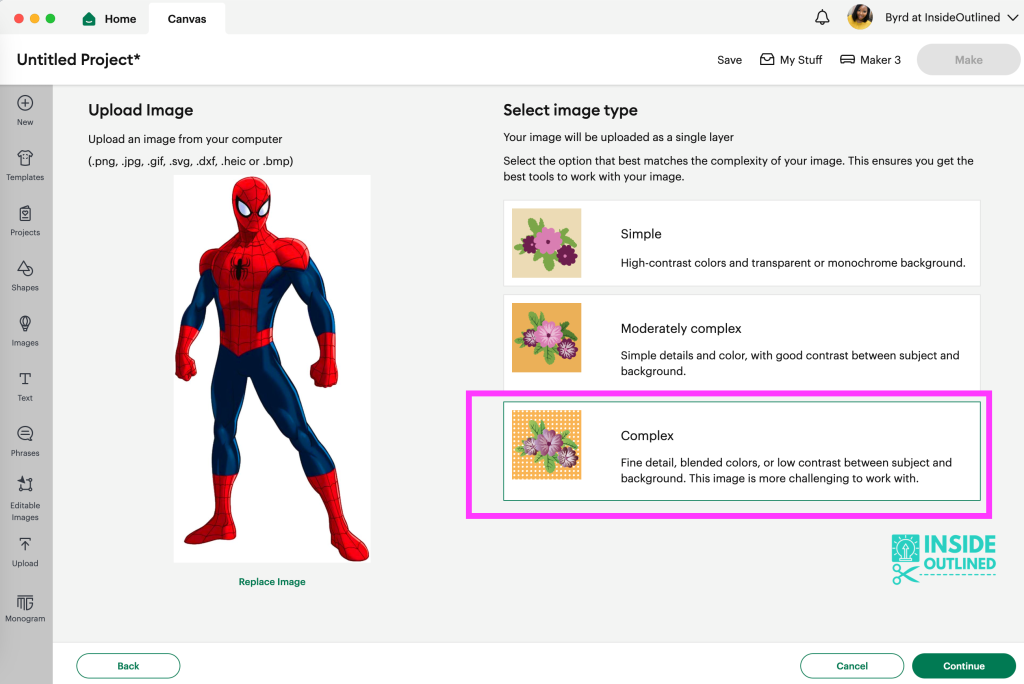
Step 2 Choose simple, moderately complex, or “complex” – I chose complex so my colors would be the brightest and I could easily remove the white background.
*If you subscribe to Cricut Access, you will be able to easily remove the background on the next step. If you do not subscribe to Cricut Access, you will always have to manually remove your background. Choosing complex in this instance makes it easy to remove the background, without Cricut Access.
Step 3 Click “Continue“
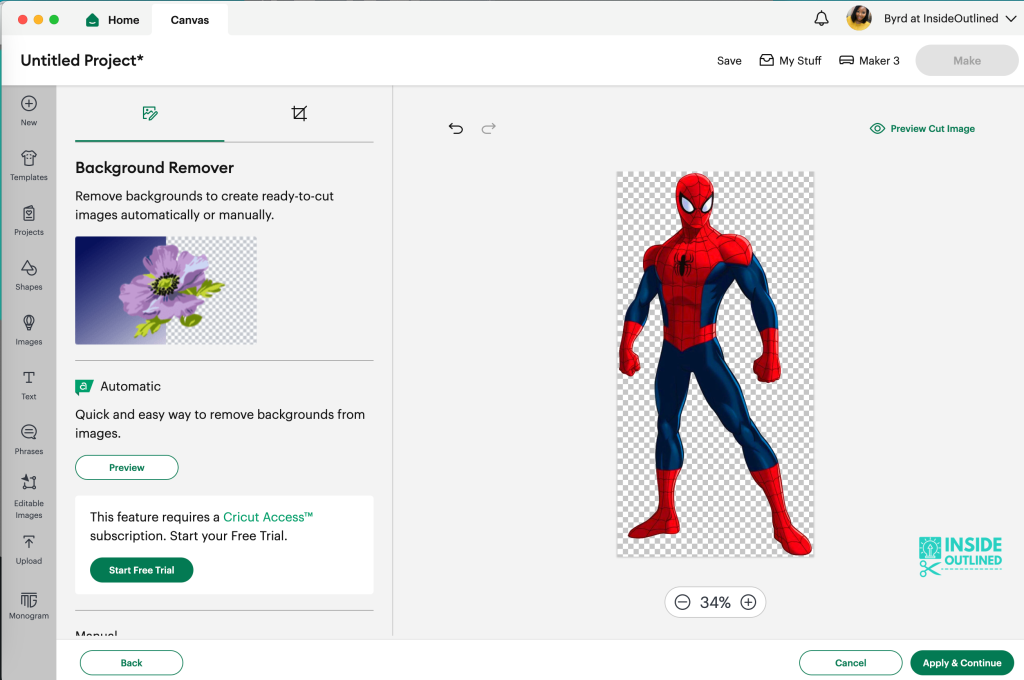
Step 4 Click the white space in the image to remove the background. If you have Cricut Access, you can use the Background Remover tool in the top left.
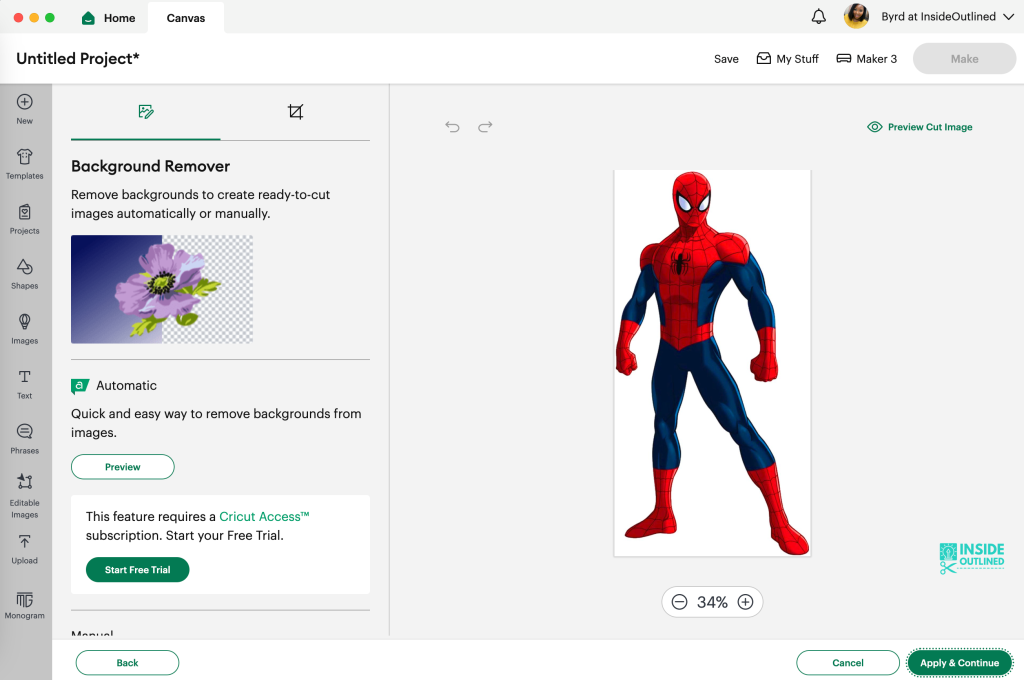
Step 5 Below is a preview of what your image looks like and this is how we want it to look. The grey and white boxes in the back let you know that the white background has been removed.
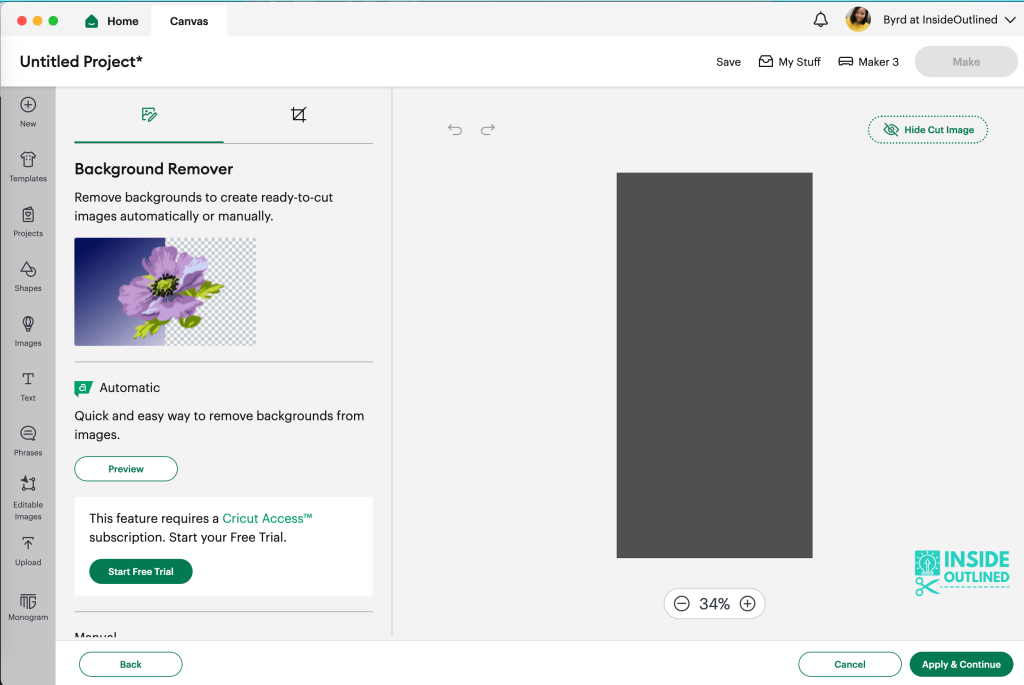
Step 6 In the image below, if you did not click on the white space in step 4, this is what your design would look like. It would look like a grey box/rectangle because the white background has not been removed.
You want your design to look like step 5 above. Click the ” Apply & Continue” button in the bottom right corner.
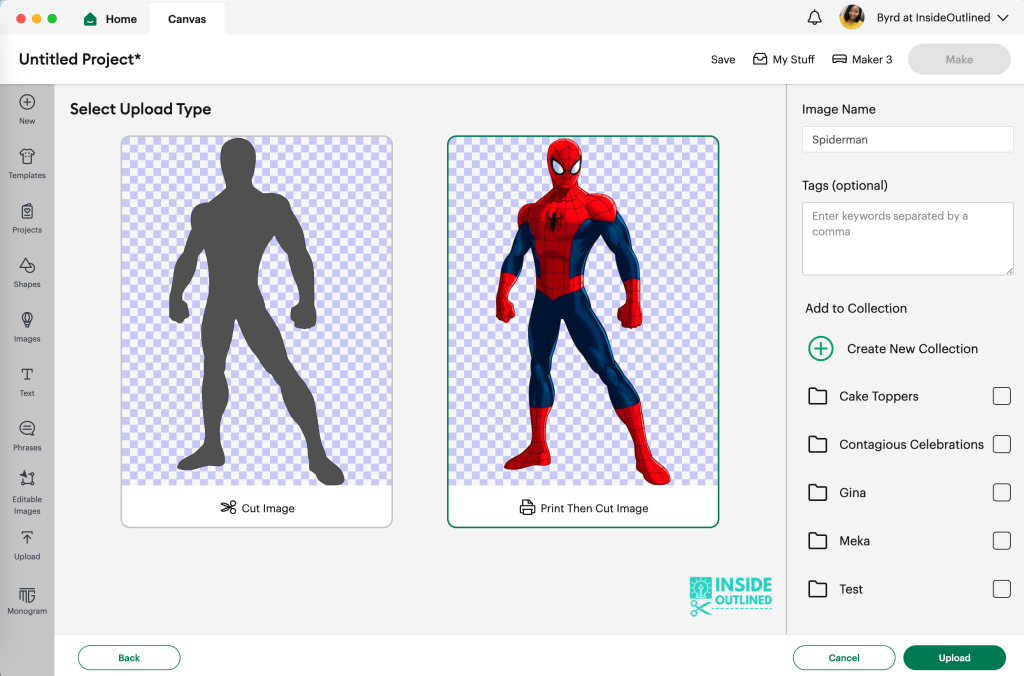
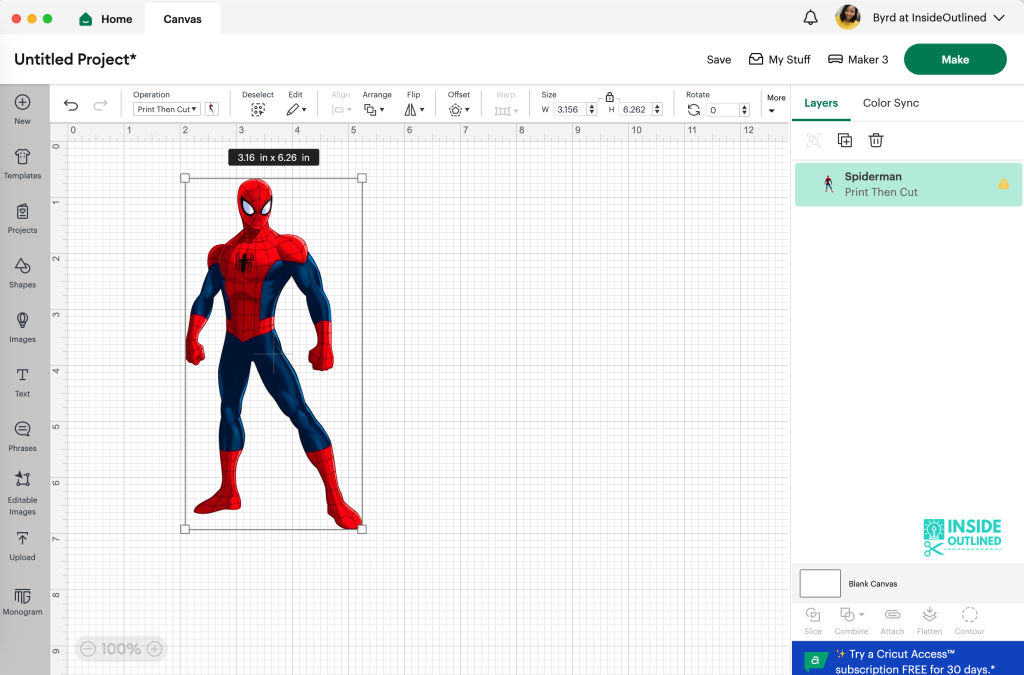
Step 7 You will see 2 options for how to upload your image. If you choose “Cut Image” you will only be uploading the silhouette of your image. If you choose “Print Then Cut Image” you will be uploading an image that you can only print then cut.
I chose “Print then Cut Image“.
You will need a printer to print then cut your own image at home. I recommend the Epson Ecotank 2850 printer.
You can also save your design as a PDF and get it printed at your local print shop or library and have your Cricut cut the design.
Step 8 Click the “Upload” button in the bottom right corner.
Step 9 Click the “Add to Canvas” button.
You’re all done!
What are SVGs files?
SVG stands for scalable vector graphic. Basically, that means that this graphic is super high quality and can be scaled to a different size and you can also change the color of the SVG.
You can create/ open SVG files in Adobe Illustrator and Inkscape as well. Typically when I’m creating my SVG files, I create them in Adobe Illustrator first then convert them to SVG files.
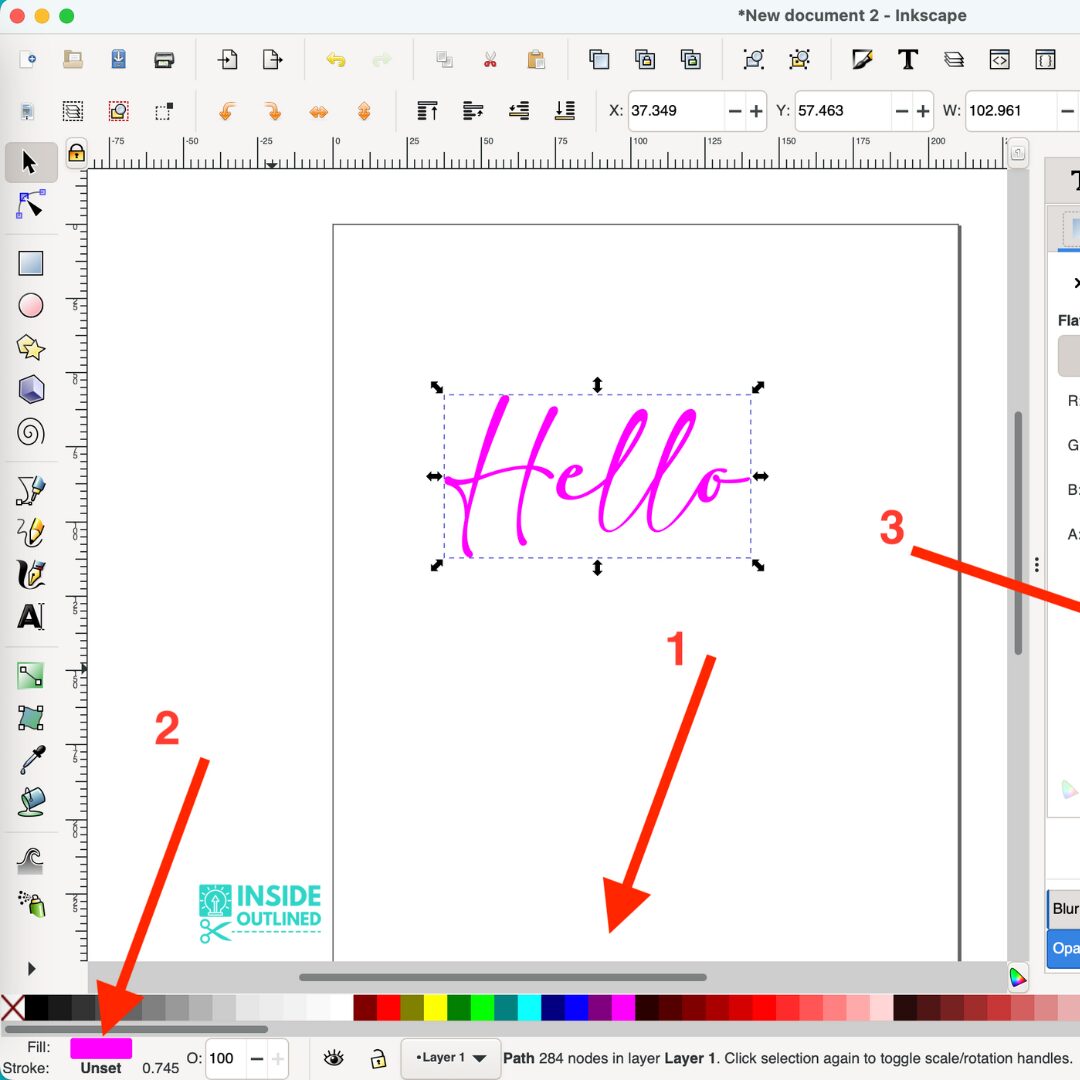
Inkscape is another program you can use to create and open SVG files. Inkscape is free and has a slight learning curve similar to Illustrator.
Where to find Free SVG files
There are many places you can get SVG files. To start, you can access free SVG files in my Free Resource Library. I upload SVG files to my Free Resource Library on a monthly basis.
I also upload Cricut PDFs to my Free Resource Library. The worksheets include a Cricut EasyPress temperature guide, Cricut font cheat sheet, and a Cricut business checklist in addition to many more.
Where to find Paid SVG files
Etsy is my go-to place when I’m looking for an SVG file quickly to use for a project. I also have an online shop that I add files to regularly. I currently have more than 100 unique SVG files in my online shop.
You can also buy SVG files on Creative Market, Design Bundles, and many other places.
Just getting started with your Cricut and need some blanks? This post on Where to Buy Blanks for your Cricut outlines some of the most popular Cricut blanks that people buy, apply their design, and sell or gift.
I hope you enjoyed this Cricut tutorial on uploading images to Cricut Design Space. If so, save this post to Pinterest so you can come back to it later or leave me a comment below to let me know if this tutorial assisted you in uploading SVG files to Cricut Design Space.
