This post may contain affiliate links. This means if you click a link and purchase an item that I recommend, I will receive an affiliate commission at no extra cost to you. All opinions are my own.
I’m a bag/purse kind of girl. I like small bags, medium sized bags, large bags. I like crossbody bags, tote bags, clutches, fanny packs, etc. You name it and I like it. As much as I like to buy those one of a kind types of bags, there will always be duplicates and replicas (not that that’s a bad thing). Today I will show you how to make a personalized Cricut tote bag.
What I love about tote bags is that they are big and I can put a lot of essential things in them which include lip-chap, a mirror, gum, pens, alcohol pads, hand sanitizer and wipes, makeup pouch, medicine pouch, snack pack, a notebook, etc.
Jump to Sections in this Post
Overview of process
The process of making this Cricut tote bag is very simple. You basically use your Cricut machine to cut your heat transfer vinyl (HTV) and use your Cricut EasyPress machine or heat press to press your design onto your bag.
What kind of HTV to use
For this Cricut tote bag project I used Siser rose gold HTV. I buy this HTV from MyCraftSource.com and it’s very reasonably priced. I used a 12×12 sheet and used about half of the sheet for my design.
Supplies you’ll need:
- Canvas tote bag
- Heat transfer vinyl
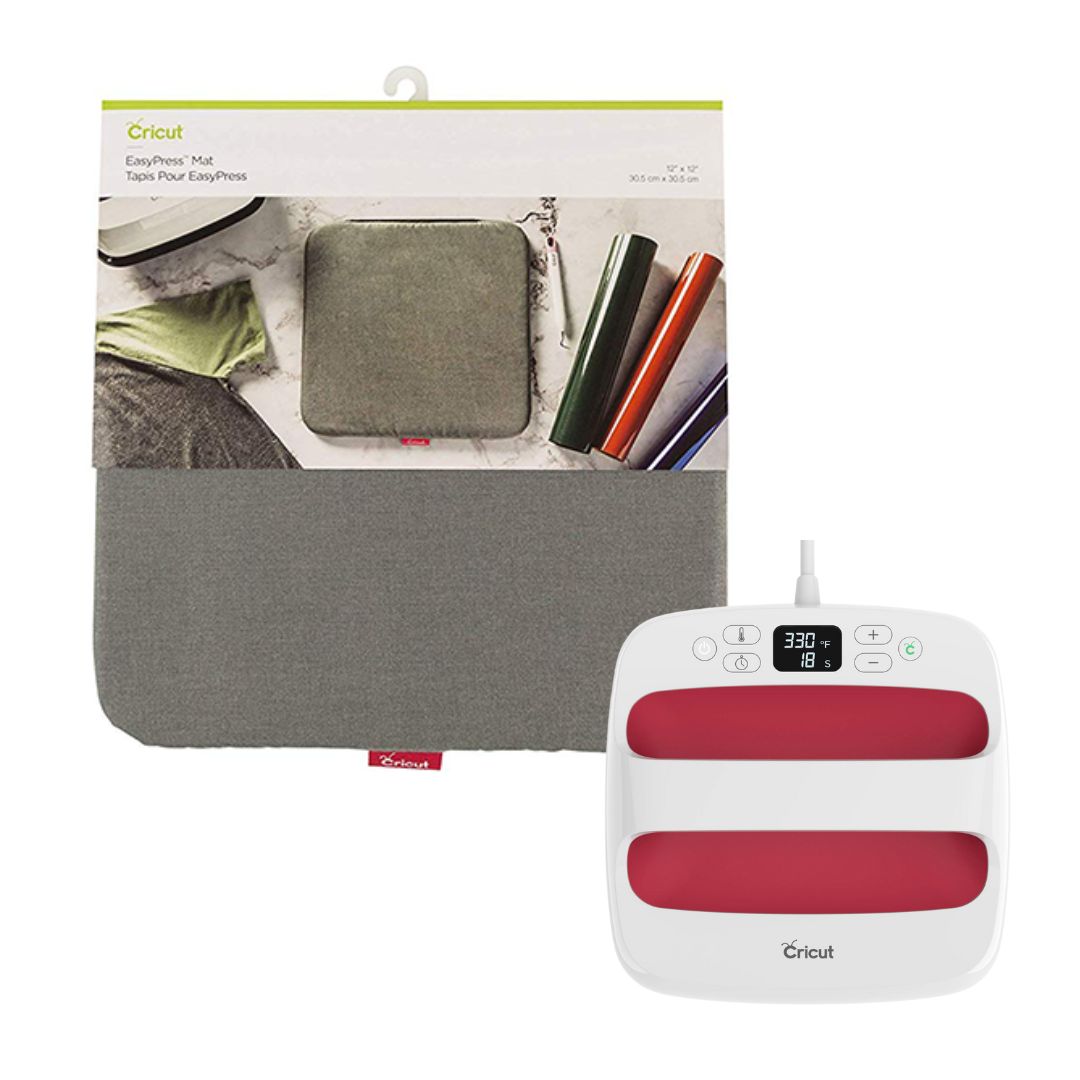
- Cricut EasyPress mat
- Teflon sheet
- Cricut EasyPress machine
- Cricut machine
- It’s what’s inside that counts Svg file
Step 1: Upload the SVG File
Upload the svg file to Cricut Design Space. You can get the free svg file in my Free Resource Library. If you’re unsure how to upload the file, check out my blog post How To Upload SVG Files To Cricut Design Space.

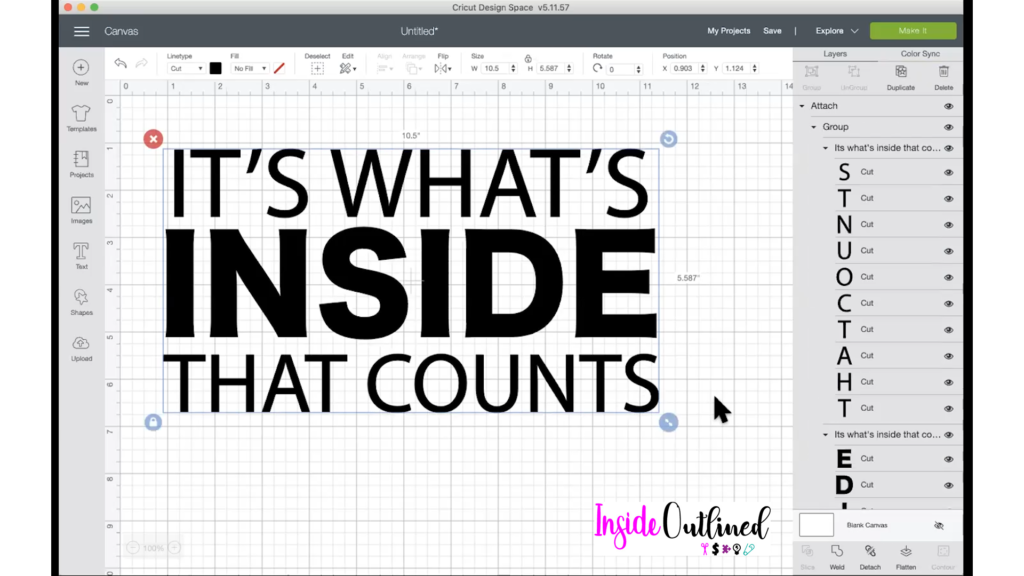
Step 2: Resize design and attach
Depending on the size of your tote bag, you should cut your design accordingly. The placement of your design will also determine the size you want your design to be. My design was 10.5 inches in width and about 5.6 inches in height.
If you want your design to be one color, click your design and then click the Attach button in the bottom right corner. Next, click the Make it button.
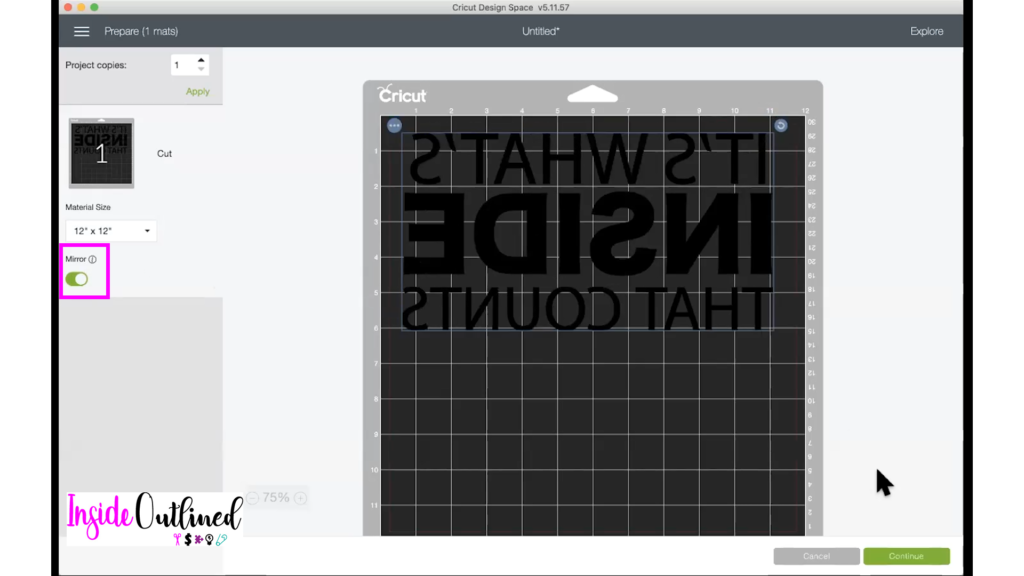
Step 3: Mirror and cut your design
On this screen please don’t forget to mirror your design and make sure it’s where you want it on your mat for when you cut your HTV. Next click Continue.

My Cricut machine was set to Iron-On and remember to always put the shiny side down on your mat. Use your Cricut machine to cut out the design.

Step 4: Weed and apply your design
Once your design is done cutting, unload your mat and remove your vinyl. Use your weeding tool to weed your design and remove the extra vinyl.

Before you apply your design, you want to take a lint roller and remove any lint on your tote bag.
Next you want to preheat your canvas tote bag for a few seconds (less than 10 seconds) and this is to remove any moisture that may be in the bag and to help your design stick to your bag.
Then you want to place your design where you want it on your tote bag and use your Easy Press to adhere your design to your tote bag. I used a teflon sheet on my design just to protect it. My EasyPress machine was set to 315 degrees for 30 seconds. I had to do a second press on my design for an additional 15 seconds to really make the design stick.
Depending on the HTV you’re using and the material of your tote bag, your EasyPress settings may be different. If you’re unsure about the temperature you can read my Cricut EasyPress Temperature Guide post or check out Cricut’s Heat Guide.
Watch the video below to see how I easily made this Cricut tote bag.
I hope you enjoyed this tutorial on how to make a tote bag with your Cricut machine. This was by far one of the easiest projects I’ve made in a while and it’s also very elegant looking with the rose gold HTV. Be sure to follow me on Pinterest and save this post. Also check out my YouTube channel for other Cricut tutorials.


