This post may contain affiliate links. This means if you click a link and purchase an item that I recommend, I will receive an affiliate commission at no extra cost to you. All opinions are my own.
Making Cricut iron on onesies is so easy. This project took less than 15 minutes and is a project that you can make as a baby shower gift, birthday gift, or Christmas gift. So let’s jump right in! 😉
Jump to Sections in this Post
Overview of process
The process of making this Cricut iron on onesie is very simple. You basically use your Cricut machine to cut your heat transfer vinyl (HTV) and use your Cricut EasyPress machine or heat press to press your design onto your onesie.
What kind of HTV to use
For this Cricut iron on onesie project I used Siser glitter gold HTV. I buy this HTV from MyCraftSource.com and it’s very reasonably priced. I used a 12×12 sheet and used less than a quarter of the sheet for my design.
Supplies you’ll need:
- Heat transfer vinyl
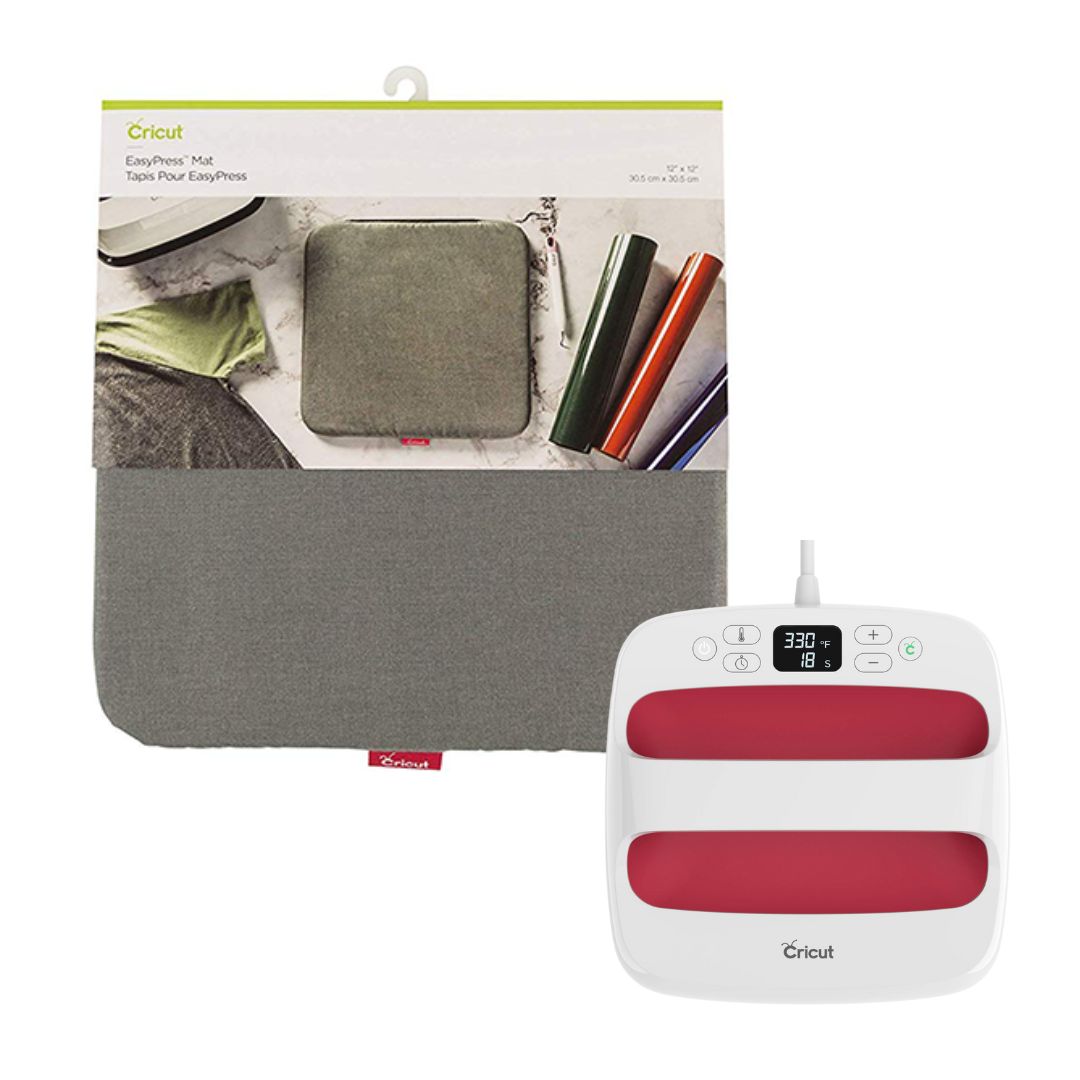
- Cricut EasyPress mat
- Teflon sheet
- Cricut EasyPress machine
- Cricut machine
- Onesie
- Svg file
Step 1: Create/Upload the SVG File
First you want to upload your design.
I went to Google and searched for a Minnie Mouse head and I also searched for a Minnie Mouse bow and saved those png/jpgs to my computer.
Then you want to upload both images to Cricut Design Space. I had to remove the background from both of my images. When you upload the Minnie Mouse bow and are removing the background, don’t select the inside of the bow, only select the outside of it.
Change the color of your images and resize them appropriately.
Type the word “LOVE” and I used the font Arial Black for this project.
Ungroup your letters and move the “V” and the “E” below the “L” and “O”.
Next you want to delete the “O” and move the Minnie Mouse head and bow into the place where the “O” was. Resize the letters and/or the Minnie Mouse head and bow if you need to. You can also rotate the Minnie Mouse design also.
Watch the full video here:
Next you want to zoom in on the Minnie Mouse design, click the bow and then click Duplicate. With that bow to the side, go back over to the original design and select the Minnie Mouse head and bow and then click the Slice button.
Delete all the pieces that were sliced and you should be left with the Minnie Mouse head that’s ready for you to slide your bow into.
Step 2: Resize design and attach
If your letters and the Minnie Mouse head will be the same color, select all of them and click the Attach button.
Step 3: Mirror and cut your design
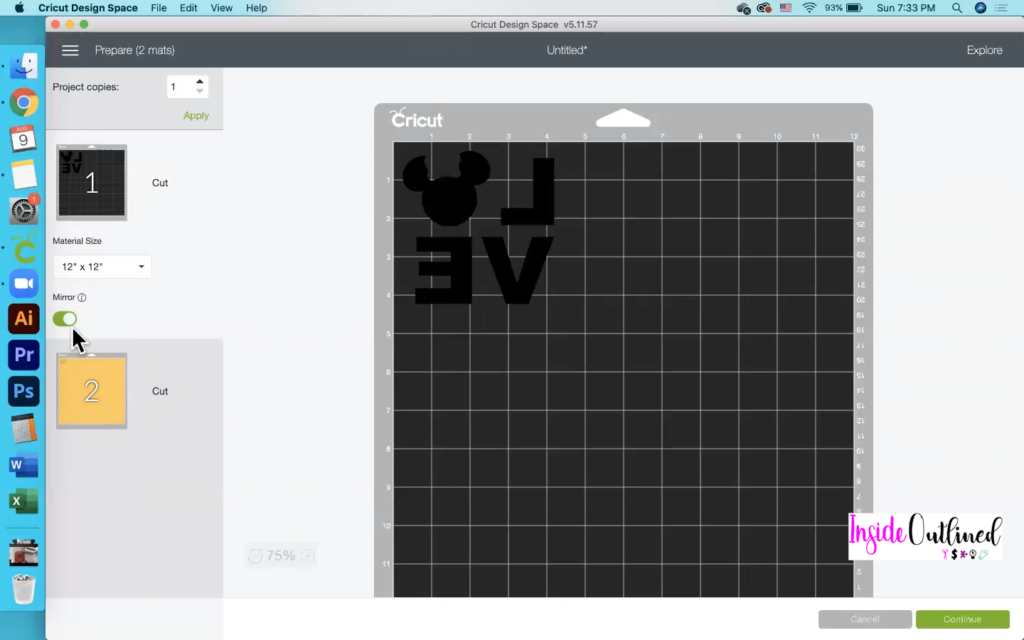
Click the Make it button and put your designs where you want them on your mats. Be sure to click the Mirror button for all of your colors and the different mats.
Make sure your Cricut machine is set to Iron on.
Load your (heat transfer vinyl) HTV onto your Cricut mat and cut out your designs. The HTV I used was Siser Easyweed.
Step 4: Weed and apply your design
Make sure your Cricut EasyPress is set to 315 degrees for 30 seconds while you are weeding your design.
Preheat your onesie for a few seconds and then let it sit for a few minutes.
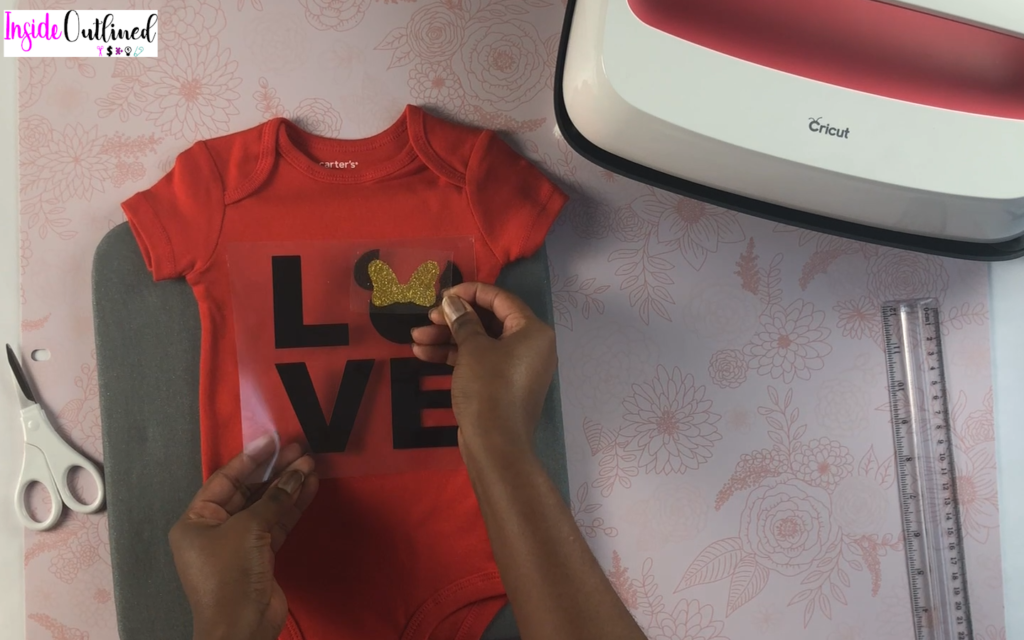
Put your letters down first and then press the design with your EasyPress machine for 30 seconds. Remove the carrier sheet and then place the bow on the design, cover your design with a teflon sheet and press your design for 30 more seconds.
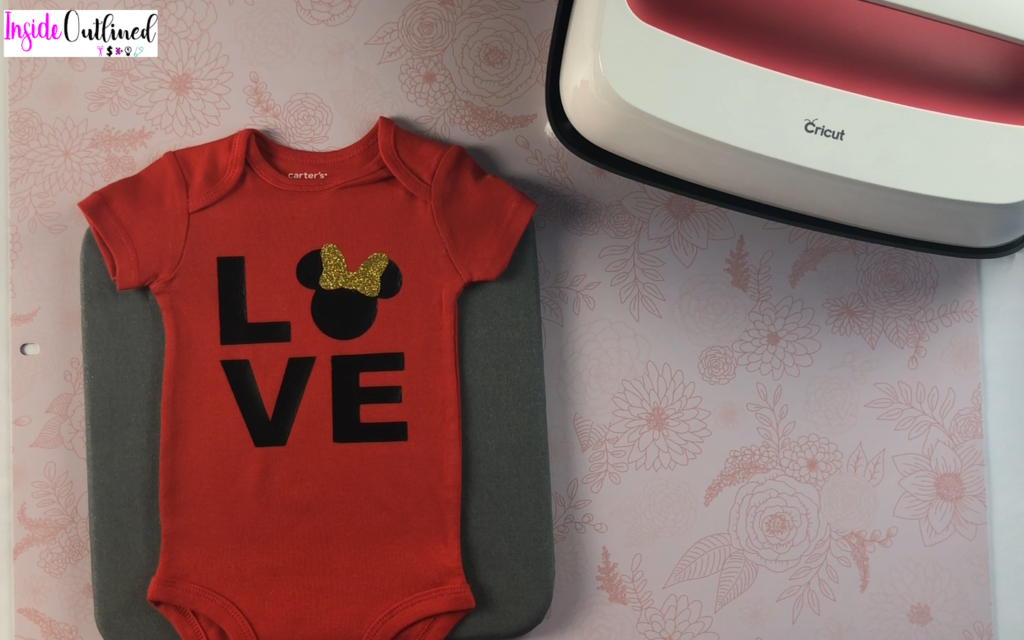
Remove the teflon sheet and you are all done.
One thing to note, if you use a darker onesie, after you remove your EasyPress machine your onesie will look a bit darker. Don’t fret, give the onesie a few minutes to cool down and the normal color will come back in.
