This post may contain affiliate links. This means if you click a link and purchase an item that I recommend, I will receive an affiliate commission at no extra cost to you. All opinions are my own.
You’ve probably walked past someone in the store with a monogram shirt on and thought “I’d like to have one of those shirts” or “That shirt would make a good gift for someone”. You may have scrolled across monogram shirts on Pinterest, Facebook or your favorite online store.
Well now you can make your own monogram shirt for a fraction of the cost as what stores would charge you.
If you have a Cricut machine, making tshirts is one of the easiest projects you can make. If you want tips on how to make shirts to sell and to gift read through to the end.
Jump to Sections in this Post
Best shirts to use
You can use any shirt that you want, but I find buying the Gildan brand shirts on Amazon and Michaels to be the best for making bulk orders. Gildan is a well-known brand and the shirts last for a very long time.
Overview of process
Making shirts with your Cricut machine is very easy. I make shirts for myself and even sell personalized shirts to friends, family and others they recommend to me. The basic process of creating a monogram tshirt is uploading the design to Cricut Design Space, resizing your design to fit your shirt, cutting your design and applying your design. Let’s jump into making Cricut monogram shirts.
Supplies you’ll need:
- Cricut machine
- Heat transfer vinyl
- Cricut EasyPress
- Svg file
- TShirt
- Cricut EasyPress Mat
- Cricut tools
Step 1: Upload the svg file
First you want to upload your svg file to Cricut Design Space. If you’re unsure how to do this, check out my blog post How To Upload SVG Files To Cricut Design Space.

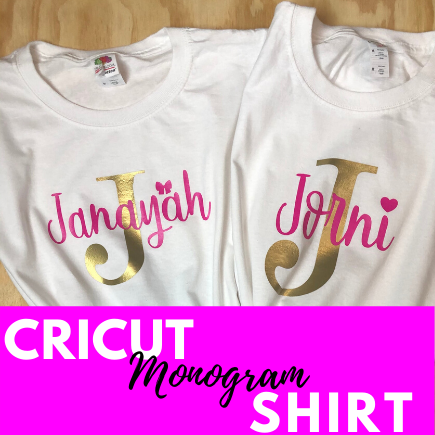
You can get circle monogram letters in my Etsy shop.
My designs are different sizes because one shirt is a youth small and the other is a youth medium.
Step 2: Prep your shirt
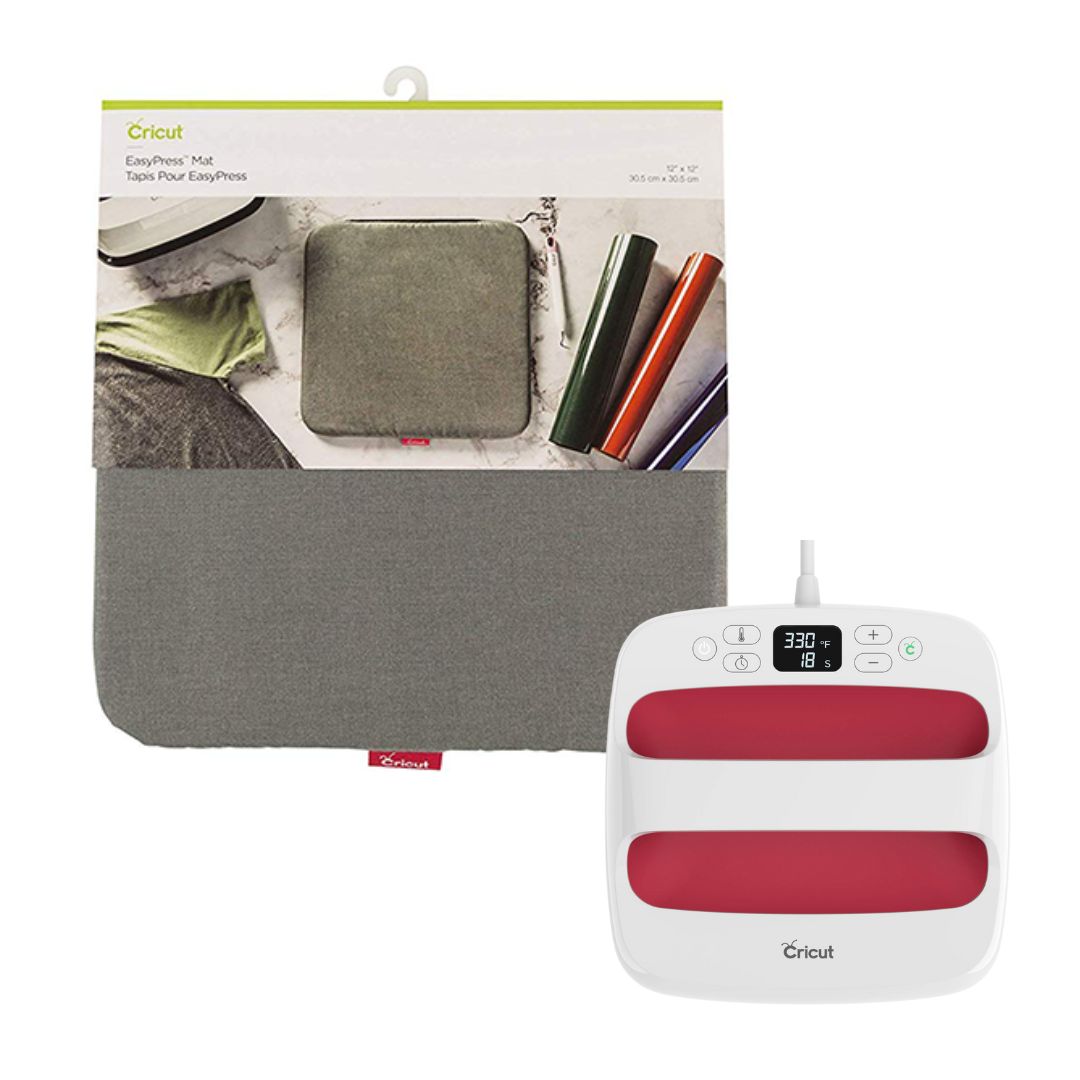
Get your shirt ready by laying it on a flat surface and putting your Cricut Easy Press Mat inside your shirt. If there is any lint on your shirt, be sure to remove it so it won’t interfere with your design.
You can also go ahead and heat press your shirt with your Easy Press so that there aren’t any wrinkles.
Step 3: Resize your design and cut your vinyl
Depending on the size of your shirt, you should cut your design accordingly. The placement of your design will also determine the size you want your design to be. The picture below shows two different ways you can put a design on a shirt.

Once you’ve decided on how you want your design placed on your shirt, resize your design in Design Space. Click Attach and then click Make it in the top right corner.
Please don’t forget to mirror your design and then click continue. (Even now I still sometimes forget to mirror my design and get irritated because I have wasted vinyl. On the flip side, you can always save that vinyl to create a tshirt that has backward text. There are numerous fashion trends that are popular these days so why not put your vinyl to use!)
Put your vinyl onto your mat and load your mat into your Cricut machine and cut your design.
Step 4: Weed and apply your vinyl
Once your design is done cutting, unload your mat and remove your vinyl. Use your weeding tool that comes with your Cricut tool set to remove the excess vinyl.
Place your design where you want it on your shirt and use your Easy Press to adhere your design to your shirt. My Easy Press was on 315 degrees for 30 seconds. Depending on the htv you’re using and the type of shirt, your Easy Press settings may be different.
If you’re unsure about the temperature you can read my Cricut EasyPress Temperature Guide post.

Selling your tshirts
If you plan to see the shirts you make I have a few tips for you.
Make sure your shirts look professional
Take the extra time to make sure your shirts look as if they were bought from the store. Your customers will be impressed and leave reviews and you will have an increase your sales.
Package your shirts nicely
You can buy plastic inserts on Amazon to put your shirts in to give your packaging a professional look. You can also buy bubble envelopes or boxes on Amazon also to package your shirts in. Adding stickers to the plastic inserts also allows you to ingrain your brand into customers minds.
Ship your shirts in a timely manner
You know what it feels like to wait forever (or it seems to take forever) for a package to arrive that you ordered online. Make sure your customers know the processing time from when they ordered a shirt and when it will be shipped. This will cut down on any confusion and limit the amount of emails you’ll get inquiring about orders.
Don’t sell yourself short
If you want to make a business or side hustle out of selling shirts, make sure you have a pricing model put together on how much you will sell your shirts for. You may think that because you are a beginner that you can’t charge as much or you may think that someone won’t pay x amount for a shirt. Well think again. You have to set your price and be comfortable with that. If someone comes across your designs and want them, they will buy from you.
I hope you enjoyed this tutorial on how to make a monogram shirt using your Cricut machine. Be sure to pin this post to your Pinterest board. Share your monogram shirts with me on Instagram or Facebook.


