This post may contain affiliate links. This means if you click a link and purchase an item that I recommend, I will receive an affiliate commission at no extra cost to you. All opinions are my own.
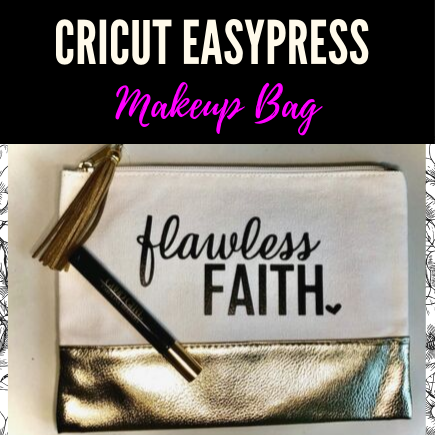
Makeup bags are simple gifts that can be personalized in a variety of ways! In addition to storing makeup, makeup bags can also be used for other things including school supply holder, storage pouch for purses, and many more uses.
This easy Cricut project is beginner friendly and takes less than 5 minutes to create.
Jump to Sections in this Post
Supplies you’ll need:
- Makeup bag (the one I used or use this one)
- Heat Transfer Vinyl (htv)
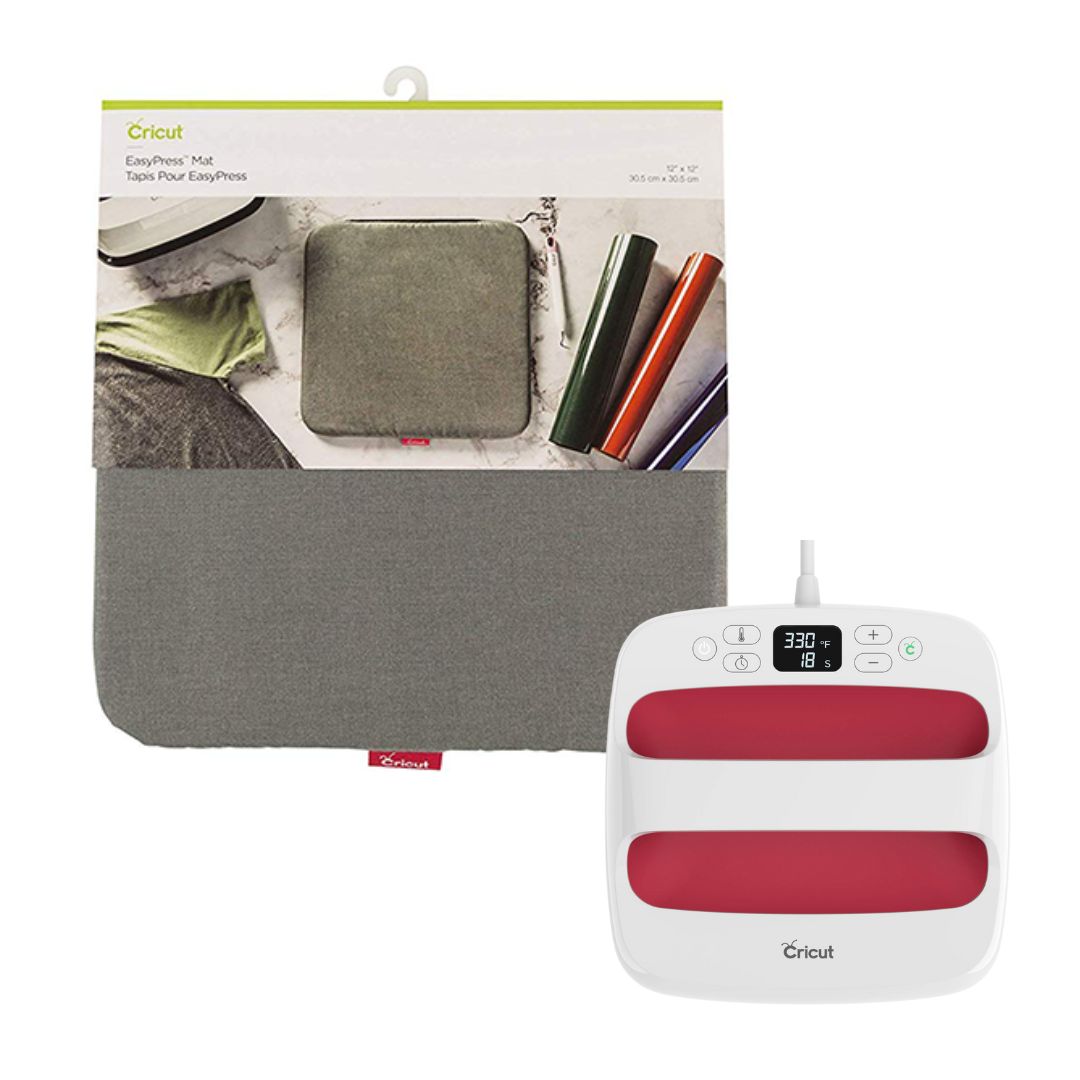
- Cricut EasyPress
- Cricut machine
- Svg design
Step 1: Upload the svg file
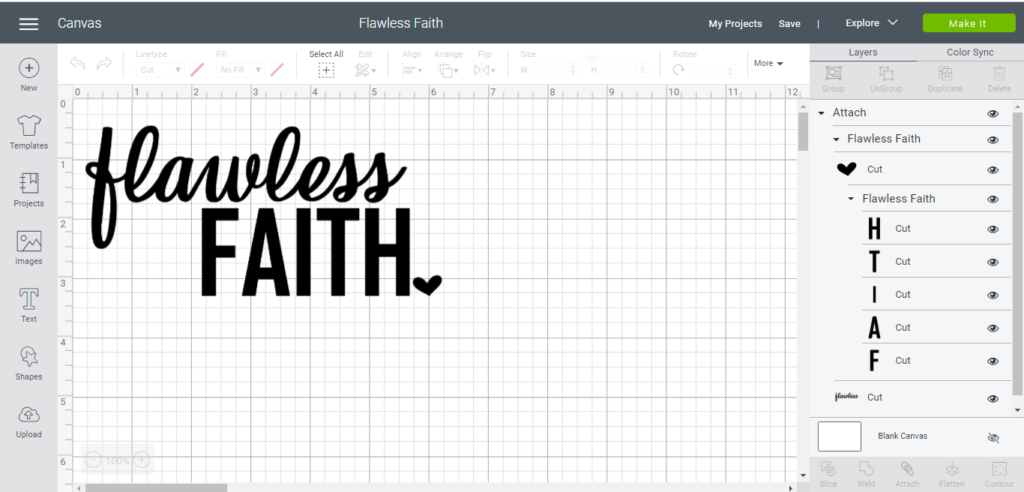
First you need to upload the svg file to Cricut Design Space. This design is available for purchase in my Etsy shop.
Step 2: Resize your design and attach
Resize your design to fit the size of your makeup bag. My makeup bag was 10″ x 7.25″. I resized the design to be 6″ x 2.865″ in.
Next, select the design and click attach in the bottom right corner so your design will be in tact.
Step 3: Cut your design
Click “Make it” and don’t forget to mirror your design. Load your mat into your Cricut machine and cut your design.
Step 4: Apply your design
Place your design where you want it to be on your makeup bag. Use your Cricut EasyPress machine to adhere the design to your bag.
The Cricut EasyPress settings that I used are 305 degrees for 30 seconds.

This Cricut makeup bag is so easy to make and super cute!! Here pretty soon I’ll be selling these makeup bags in my Etsy shop so be on the lookout.
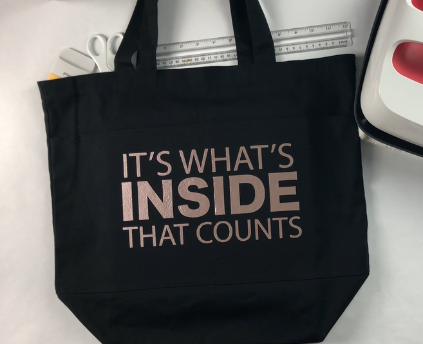
This design can also be used to put on tumblers, mugs, laptops and so much more!

